
Film appearance
Compare transparency, gloss, edge visibility, and print against the real pack.
Clear label development
Build transparency, printed opacity, adhesive appearance, and application around the actual container—not a white-screen artwork preview.
What remains visible
The film edge, printed areas, adhesive layer, trapped air, container surface, and product color can all remain visible. Define which elements should disappear and which need deliberate contrast.
Compare transparency, gloss, edge visibility, and print against the real pack.
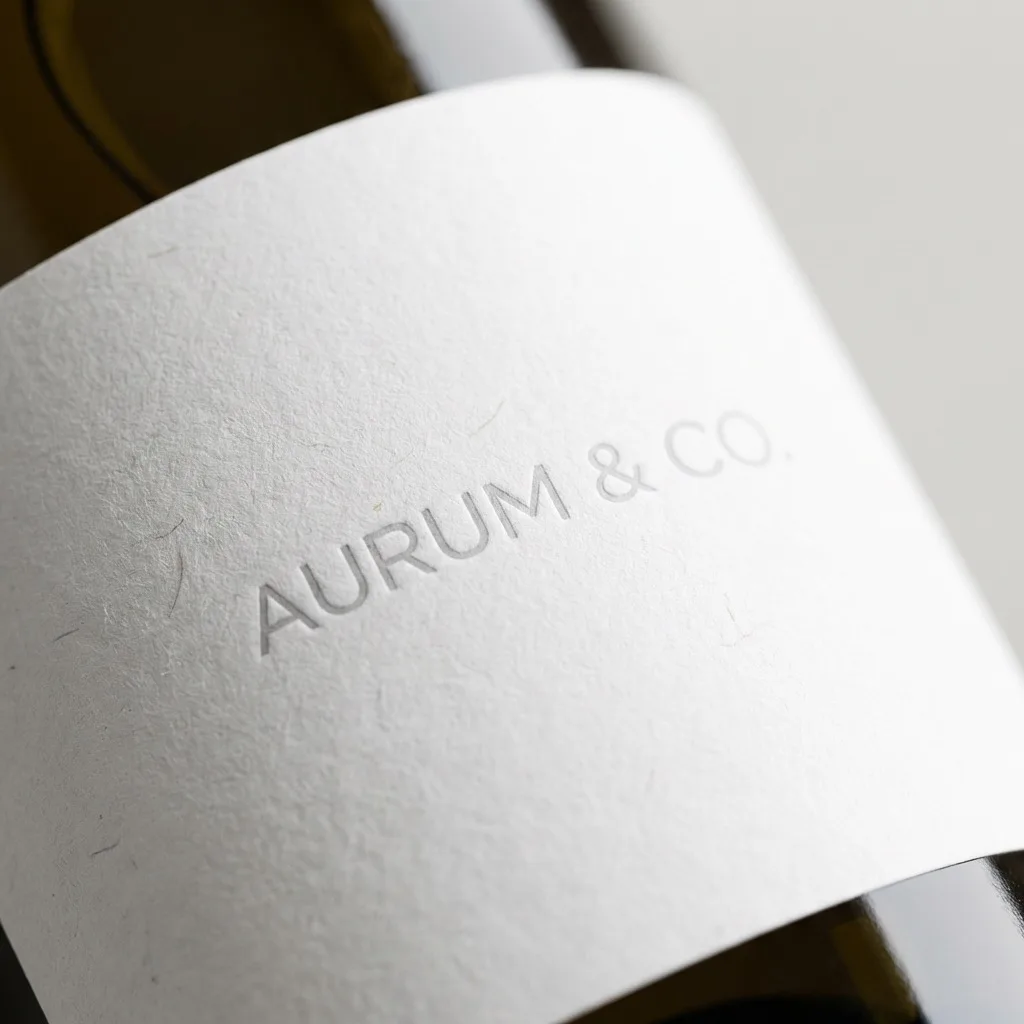
Judge the chosen clear construction against the bottle, contents, lighting, and required contrast.
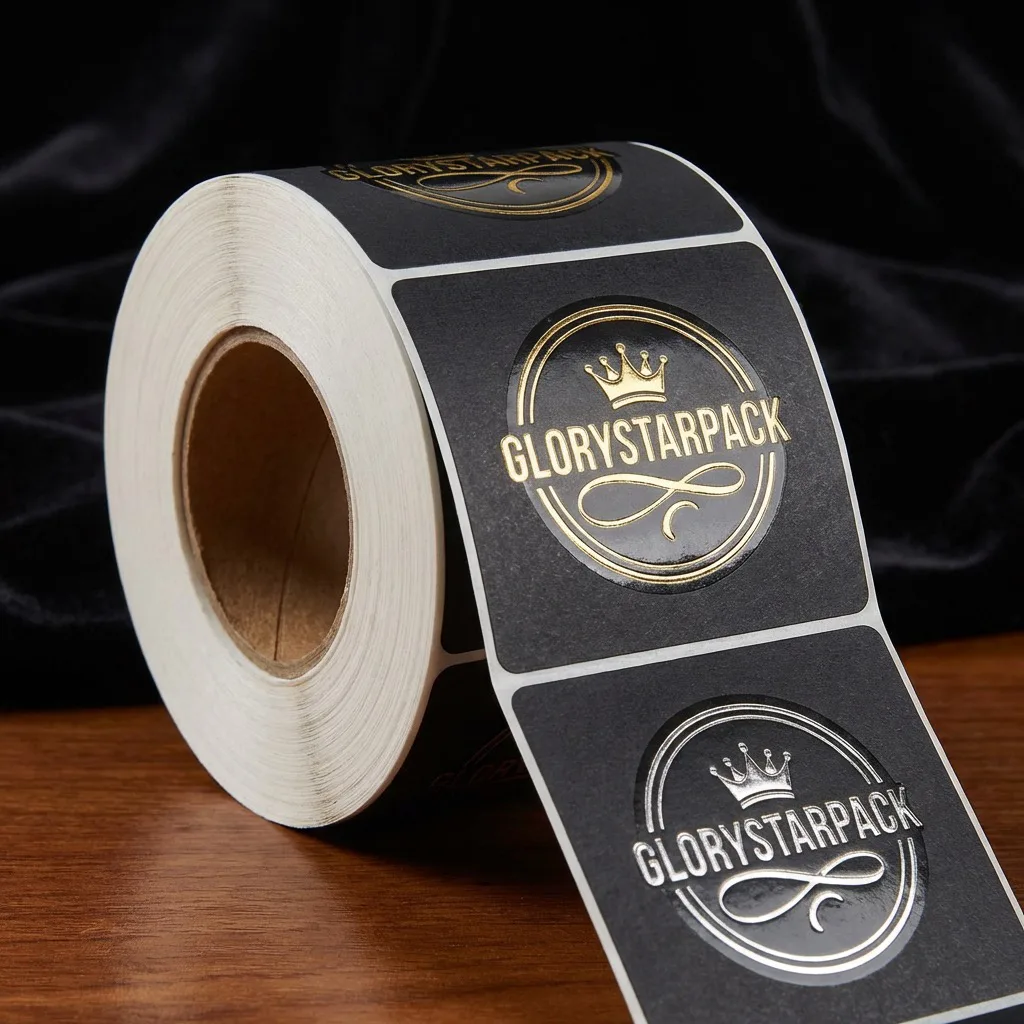
Confirm orientation, gap, liner, core, and unwind before machine application.
Need a broader comparison first? Explore all custom label routes.
White ink and container color
Ink that looks vivid on a white proof can lose contrast over clear or colored contents. A separate white-ink map defines where opacity supports color, type, symbols, or codes—and where the container should remain visible.
A screen mockup cannot reproduce container color, adhesive appearance, reflected light, or show-through. Approval should include the intended filled container.
Clear label specification
Share the physical pack and application method early. These inputs guide the construction, artwork preparation, trial, and release criteria.
Scroll horizontally to view all columns →
| Decision | Information to provide | What to approve |
|---|---|---|
| Container | Material, color, contents color, coating, surface texture, label panel, diameter or taper, and a representative filled sample. | Show-through, contrast, edge visibility, alignment, and the appearance under expected lighting. |
| Cleanliness | Cleaning method, dust controls, handling points, filling residue risk, and the time between cleaning and application. | Dust, fingerprints, residue, bubbles, haze, and consistency across trial containers. |
| Curvature | Container drawing or sample, application-panel width, taper, seams, compound curves, and label dimensions. | Edge lift, bridging, wrinkles, distortion, and whether the shape sits within the usable panel. |
| Artwork | Final colors, small type, codes, clear windows, and a separate white-ink opacity map. | Printed opacity, color over the container, registration, readability, and clean transitions. |
| Adhesive view | Clarity target, container surface, application pressure, application conditions, and observation time after application. | Haze, silvering, bubbles, edge behavior, and visual change after the agreed dwell period. |
| Hand application | Operator method, alignment reference, handling sequence, pressure, and expected throughput. | Position repeatability, trapped air, handling marks, and acceptable rework criteria. |
| Machine application | Applicator model, unwind diagram, core inside diameter, web width, gap, maximum roll diameter, and line speed. | Roll direction, orientation, dispensing, sensor response, placement, and stable running on the intended line. |
| Release | Approved filled sample, signed artwork, quantity, roll packing plan, and named quality approvers. | Print, white ink, die cut, liner release, spacing, count, roll identity, cosmetic defects, and applied appearance. |
Haze, silvering, and application
Adhesive haze and tiny reflective channels can appear differently immediately after application and after dwell. Surface cleanliness, container texture, application pressure, trapped air, curve, and viewing light can change the result.
If the brief calls for tactile relief or metallic emphasis instead of transparency, review embossed and foil labels.
From container to production roll
A staged approval path makes the visual target, converting details, and application result observable before the full run.
Share the filled pack, label panel, curve, color, cleanliness controls, application method, quantity, and artwork.
Confirm clear areas, color, white-ink map, shape, liner, roll direction, core, gap, and label orientation.
Use clean representative filled containers and the intended hand or machine process, then observe after agreed dwell.
Release against the signed artwork, roll specification, cosmetic limits, application sample, and QC record.
Preparing the production file? Use the clear-label white-ink artwork and applied-trial planner before approving transparency, opacity and registration.
Browse the complete custom packaging range or send a clear-label brief.
Buyer questions
Final construction and artwork decisions depend on the actual container, contents, application method, quantity, and approved visual target.
Quote custom clear labels
Send the label size, quantity, container and contents colors, curvature, artwork and white-ink direction, hand or machine application details, delivery country, and target date.