 EL–01
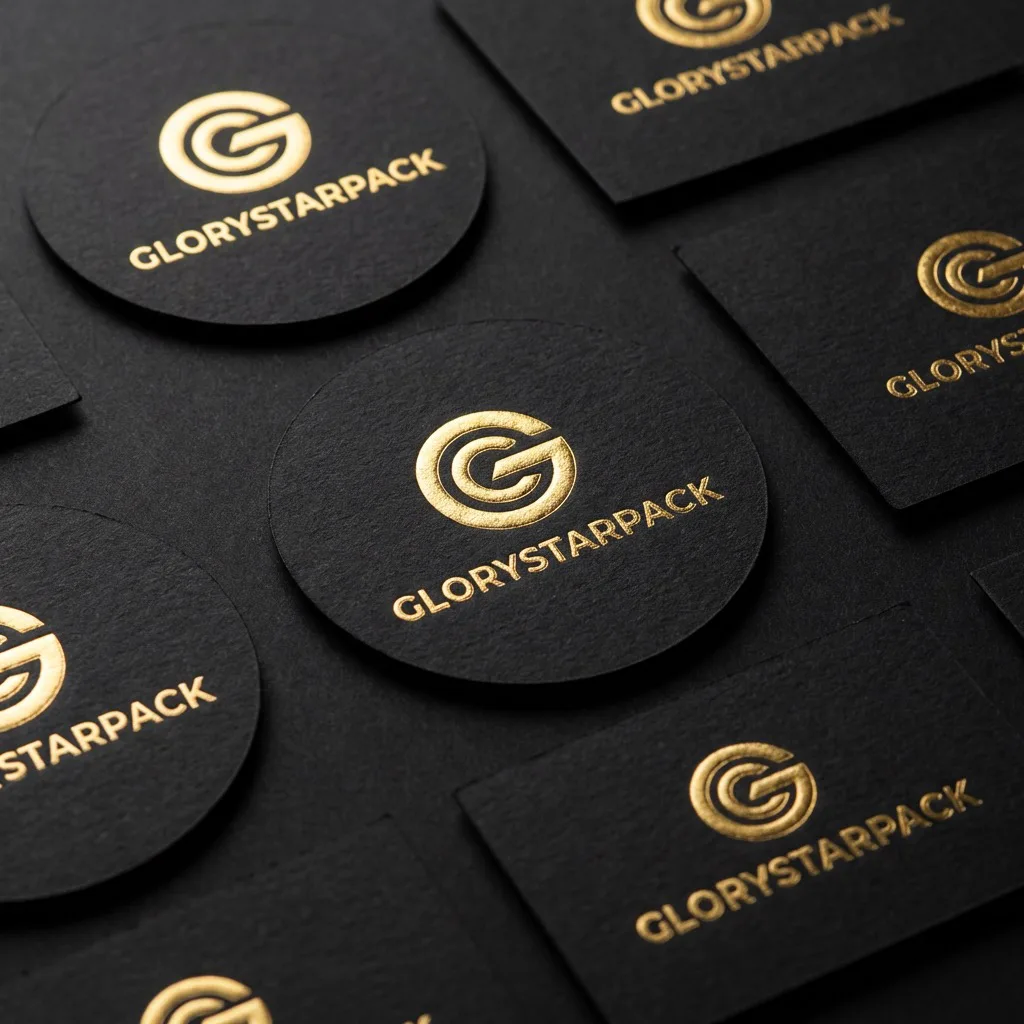
EL–01Textured paper
A tactile route for selective foil, emboss, or blind emboss. Grain, porosity, thickness, moisture exposure, and die-cut behavior should be reviewed together.
- Tactile grain
- Blind emboss
- Foil trial
Tactile pressure-sensitive labels
Define the stock, adhesive, container, application, foil, emboss register, die cut, roll format, sample tests, and quality criteria before finished labels reach the packing line.
Face-stock directions
The label must carry print and finishing while conforming to the container, holding through the service environment, and dispensing in the required format.
EL–01A tactile route for selective foil, emboss, or blind emboss. Grain, porosity, thickness, moisture exposure, and die-cut behavior should be reviewed together.
 EL–02
EL–02Smooth paper, metallic paper, and film routes can support crisp graphics or broader reflectivity. Ink opacity, surface protection, stiffness, and container show-through affect the result.
 EL–03
EL–03Wet-strength paper or film can be considered when condensation, humidity, oils, or repeated handling are expected. Final suitability depends on the adhesive, protection, container, and test conditions.
Stock, adhesive, and application
A beautiful flat proof does not establish adhesion, conformability, dispensing, or finish durability. Supply representative containers and the actual application conditions early.
Scroll horizontally to view all columns →
| Decision | Information to provide | What to verify |
|---|---|---|
| Container | Glass, plastic, metal, coated board, or other surface; curvature, taper, seam, texture, coating, and label panel. | Fit, edge lift, wrinkling, show-through, trapped air, label alignment, and whether the relief sits over a stable surface. |
| Face stock | Textured or coated paper, wet-strength paper, white or clear film, metallic stock, color, opacity, thickness, and surface feel. | Print character, foil coverage, emboss definition, stiffness, conformability, die cutting, matrix stripping, and liner release. |
| Adhesive | Permanent or removable goal, application temperature, service temperature, moisture, oils, chemicals, handling, and expected shelf conditions. | Initial tack, final adhesion, edge hold, residue goal, interaction with the container coating, and performance after conditioning. |
| Application | Hand or machine application, container cleanliness, line speed range, label orientation, wipe-down method, and time before packing. | Dispensing, placement, skew, bubbles, pressure at application, liner release, and clearance around raised details. |
| Label geometry | Finished size and shape, corner radius, grain direction if relevant, gap, relief position, and distance from container edges or curves. | Die line, lift risk, visual alignment, stripping, roll stability, and room for normal print-to-cut and finish movement. |
| Protection | Varnish, laminate, selective protection, uncoated tactile areas, expected rub points, and contact with secondary packaging. | Ink rub, foil wear, scuffing, blocking, surface feel, fold or curve behavior, and change after moisture exposure. |
Adhesive names or broad descriptions are not enough for approval. Record the complete face-stock, adhesive, liner, finish, container, and application combination used for the accepted sample.
Foil, emboss, and register
Foil creates a transferred reflective or pigmented area. Embossing raises the stock. A registered foil-and-emboss detail attempts to align those operations; blind embossing creates relief without ink or foil on the raised artwork.
Very fine lines, tight counters, heavy texture, large solid foil areas, and relief near a die-cut edge can create competing production demands. Resolve them in the artwork and sample stage.
Compare the production tradeoffs in the foil versus spot UV guide, or return to the custom label range to choose the base construction first.

Condensation and scuff exposure
Condensation can change paper appearance, adhesive behavior, edge hold, and surface friction. Packing, transport, filling lines, retail handling, and contact with neighboring products can also abrade foil, ink, or an unprotected surface.
No face stock, adhesive, varnish, or laminate should be treated as a universal answer. Approve the combined construction on the intended container and in the intended use environment.
Roll direction, core, and gap
Roll labels should be converted to the machine's geometry, sensor, weight, and changeover needs. A verbal request for “standard rolls” leaves critical variables undefined.
Scroll horizontally to view all columns →
| Roll field | How to define it | Approval check |
|---|---|---|
| Unwind direction | Use the applicator manufacturer's diagram showing copy orientation and whether labels face inside or outside. | Match actual artwork orientation to the machine feed path; do not rely only on a direction number without a diagram. |
| Core inside diameter | State the required core inside diameter and acceptable core material or identification. | Fit on the unwind shaft, core strength, roll centering, and core-to-web alignment. |
| Maximum roll outside diameter | Provide the machine clearance and any preferred roll weight or changeover constraint. | Finished roll fits the guard and unwind area without exceeding handling limits agreed by the buyer. |
| Web width | Define the liner width and left/right margins around the die-cut label. | Tracking, liner edge quality, sensor position, die-cut clearance, and consistency through the roll. |
| Label gap | State the machine-compatible gap in the feed direction and any cross-web clearance. | Sensor detection, dispensing, die-cut registration, matrix removal, and label pitch. |
| Labels per roll | Define the target count, count tolerance if applicable, roll sequence, SKU separation, and roll identification. | Changeover plan, roll count, traceability, overrun handling, and carton packing. |
| Splices and joins | Document whether splices are allowed, how they are marked, and any location or count limits. | Applicator handling, sensor behavior, waste removal, and visibility to the line operator. |
Sampling and quality control
A useful approval path names what each proof can and cannot establish, then carries the accepted construction into production records and inspection criteria.
Confirm copy, dieline, print layers, white ink, foil, emboss or blind emboss, trapping, clearance, roll orientation, and variable data if used.
Review the selected stock, foil reference, color, coverage, relief, register, small details, liner release, and label fit on the container.
Use representative containers and application settings, then check adhesion, edge lift, wrinkles, scuffing, condensation response, and handling.
Check against agreed criteria for print, foil coverage, finish register, relief, die cut, release, unwind, core, gap, count, joins, roll labels, and packing.
A digital proof can approve content and layout, but it cannot reproduce actual foil reflection, embossed depth, paper texture, adhesive performance, liner release, or machine dispensing.
Buyer questions
Final construction and production recommendations depend on the actual container, artwork, application, environment, quantity, and supply format.
Quote embossed foil labels
Send the label size, quantity, container, use environment, application method, stock and adhesive direction, foil and emboss artwork, roll setup, delivery country, and target date. We will use those inputs to identify the next proof and production questions.