
Start with the experience
Unboxing is a sequence of decisions.
Strong unboxing is not a stack of decorative effects. It is a controlled sequence: identify the package, open it without friction, reveal the product at the right moment, and remove it without damage.
Start with the product orientation and the first thing the customer should see. Then design the insert, lid depth, pull ribbon, documentation, and accessory positions around that sequence. Foil and texture should reinforce the hierarchy, not compete with it.
For a procurement team, this approach also makes the brief easier to quote. The supplier can see which requirements are structural, which are protective, and which are visual. That separation reduces the chance of approving a beautiful rendering that cannot pack, ship, or assemble reliably.
Define the five moments
- Recognition: what identifies the brand before the package opens?
- Access: where does the user hold, pull, lift, or tear?
- Reveal: what appears first, and in what orientation?
- Removal: can the product and accessories be lifted without force or damage?
- After-use: should the package be stored, reused, separated, or recycled?
Write one sentence for each moment before selecting a box style. If the sequence is unclear in words, adding foil, ribbon, or extra layers will not resolve it.
Map the sequence
Turn the concept into reviewable checkpoints.
Each stage should connect a user action to a physical packaging decision and a sample check.
Scroll horizontally to view all columns →
| Moment | Design question | Packaging decisions | What to check in the sample |
|---|---|---|---|
| Recognition | What should the customer understand before opening? | Logo position, shipping sleeve, primary color, label, closure cue. | Visibility in the expected shelf or delivery context; legibility at normal viewing distance. |
| Access | Is the opening action obvious and comfortable? | Lid fit, magnetic flap, drawer ribbon, thumb notch, tear strip, seal. | Grip, opening force, repeated use, and whether the user needs a tool. |
| Reveal | Which item appears first and at what angle? | Product orientation, lid depth, insert height, tissue, documentation position. | Whether the hero product stays centered and supporting items remain organized after transit. |
| Removal | Can every component be removed cleanly? | Finger clearance, ribbon lift, cavity tolerance, accessory channels, tray stiffness. | Snagging, excessive grip, fragile finishes, sharp edges, and product movement. |
| After-use | What should happen after the product is removed? | Reusable structure, refill layout, material separation, compact disposal, storage. | Durability, instructions, removable mixed components, and realistic end-of-life claims. |
Structure and insert
Protect the reveal before styling it.
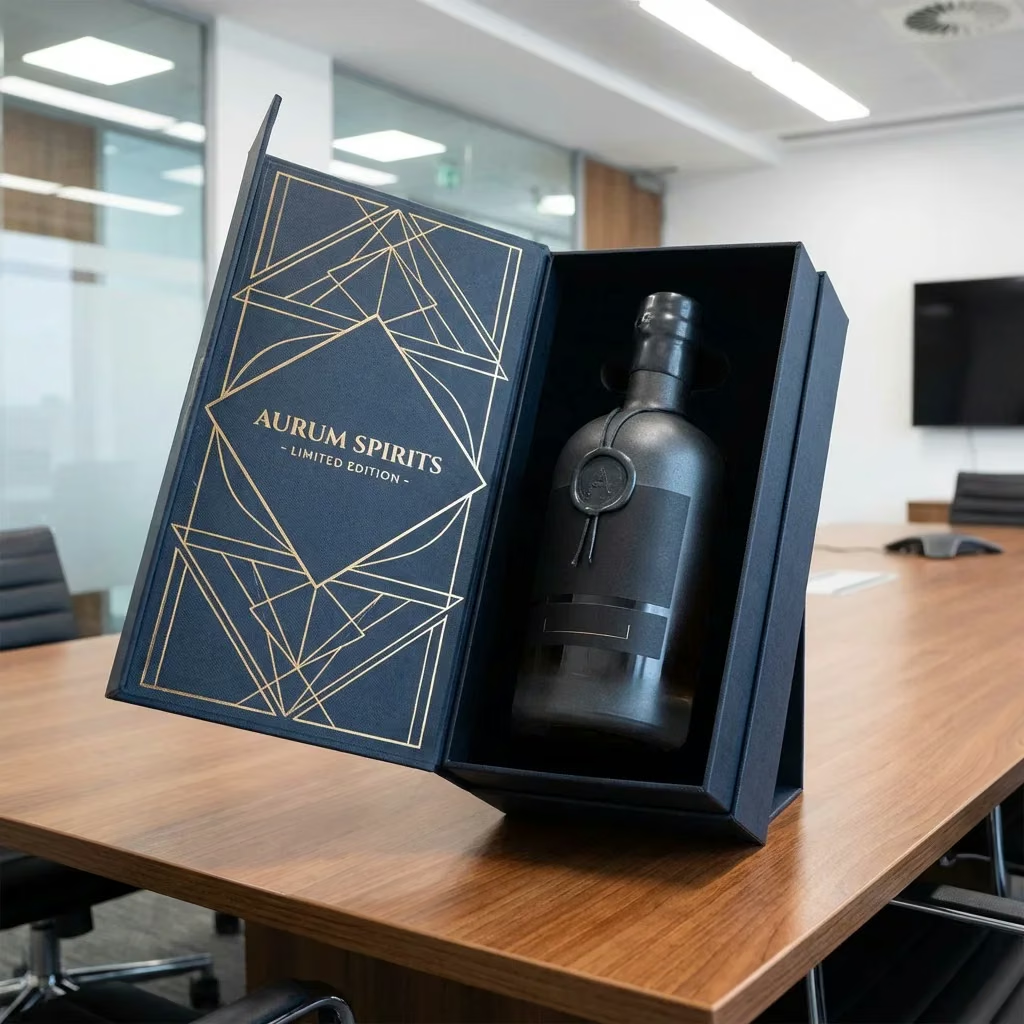
The box controls how the package opens. The insert controls what the customer sees when it does. They should be developed together around product dimensions, weight, center of gravity, fragile areas, accessories, and transit conditions.
- A magnetic flip box supports a broad lid reveal but adds closure and hinge decisions
- A drawer box creates a gradual reveal but depends on sleeve-to-tray clearance
- A lid-and-base box is direct, but lid fit and lifting resistance require attention
- A mailer can combine delivery protection with an inside reveal when the print and pack-out are planned together
Compare these structures on the custom boxes page, then make the physical sample with the real product or a dimensionally accurate substitute.
Information hierarchy
Give each surface one job.
A premium package feels calm because the customer can read its priorities. Assign the outside to recognition, the first inside panel to a short message or instruction, and the insert area to the product. Legal copy, manuals, accessories, and promotional material should not obscure the first reveal.
Use finishing to support the hierarchy
Foil is effective when a small reflective mark needs to remain visible on a dark or textured background. Spot UV creates clear gloss contrast over print. Embossing and debossing add relief. Soft-touch lamination changes surface feel and glare. None of these treatments fixes weak spacing, poor contrast, or an overloaded layout.
Choose one focal treatment first. If more than one finish is necessary, separate their roles—for example, foil for the logo and a quieter spot UV pattern in the background. The foil versus spot UV guide explains the production tradeoffs.
Make removal part of the visual design
Finger cutouts, pull ribbons, paper tabs, and accessory wells become part of the composition. Place them deliberately. A perfectly centered product that cannot be lifted without digging at the edge is not a successful presentation.
Physical approval
Test the sequence with hands, product, and transit.
A rendering can show color and composition. It cannot prove opening force, product fit, surface durability, or how components move after delivery.
- OpeningUse the package without instructions. Check grip, closure, lid or drawer movement, and any seal or ribbon.
- FitLoad the intended product and accessories. Check orientation, cavity tolerance, top clearance, and removal space.
- TransitPack the sample as it will ship. Review product movement, scuffing, insert lift, crushed corners, and outer-carton support.
- RepeatabilityDefine the approved sample, material references, artwork files, and measurable checkpoints for production.
Procurement brief
Send inputs that change the structure.
A useful request for quotation should include:
- product dimensions, weight, photos, fragile areas, and final orientation;
- all accessories, documents, chargers, tools, or refills packed with it;
- target quantity, number of SKUs, and whether components are shared;
- preferred opening sequence and reference images with specific notes;
- retail, gifting, ecommerce, subscription, or presentation use;
- material and finish direction, sustainability requirements, and claims to document;
- delivery country, warehouse date, outer-carton or pallet constraints, and shipping route if known.
The quote can then distinguish structural work, inserts, print, finishing, tooling, sampling, packing, and freight instead of hiding them inside a single unit price.