
Outer sleeve
The sleeve controls tray guidance, exterior protection, seam placement, branding area, and the first resistance the user feels.
- One-end opening
- Two-end option
- Wrapped board

Sleeve, tray, travel
Develop the sleeve, tray, access point, insert, and packing direction together so the physical sample answers the questions a rendering cannot.
Sleeve-and-tray anatomy
The sleeve-to-tray fit, the tray-to-insert fit, and the user-to-pull interaction need to work as one system.
The sleeve controls tray guidance, exterior protection, seam placement, branding area, and the first resistance the user feels.
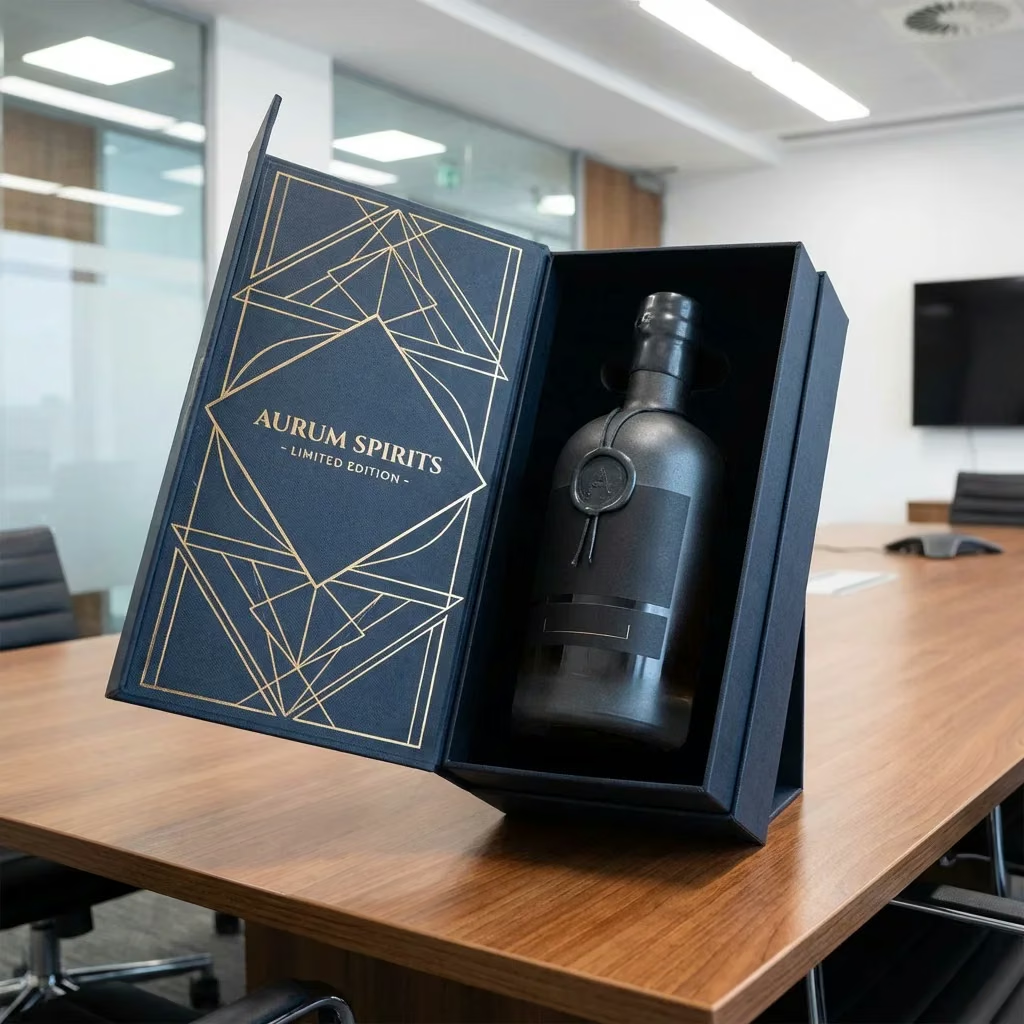
The tray carries the product load and must remain square through assembly, insertion, withdrawal, and final packing.
 DB–03
DB–03A ribbon pull creates a separate tactile detail; a finger notch keeps the opening cue within the board structure.
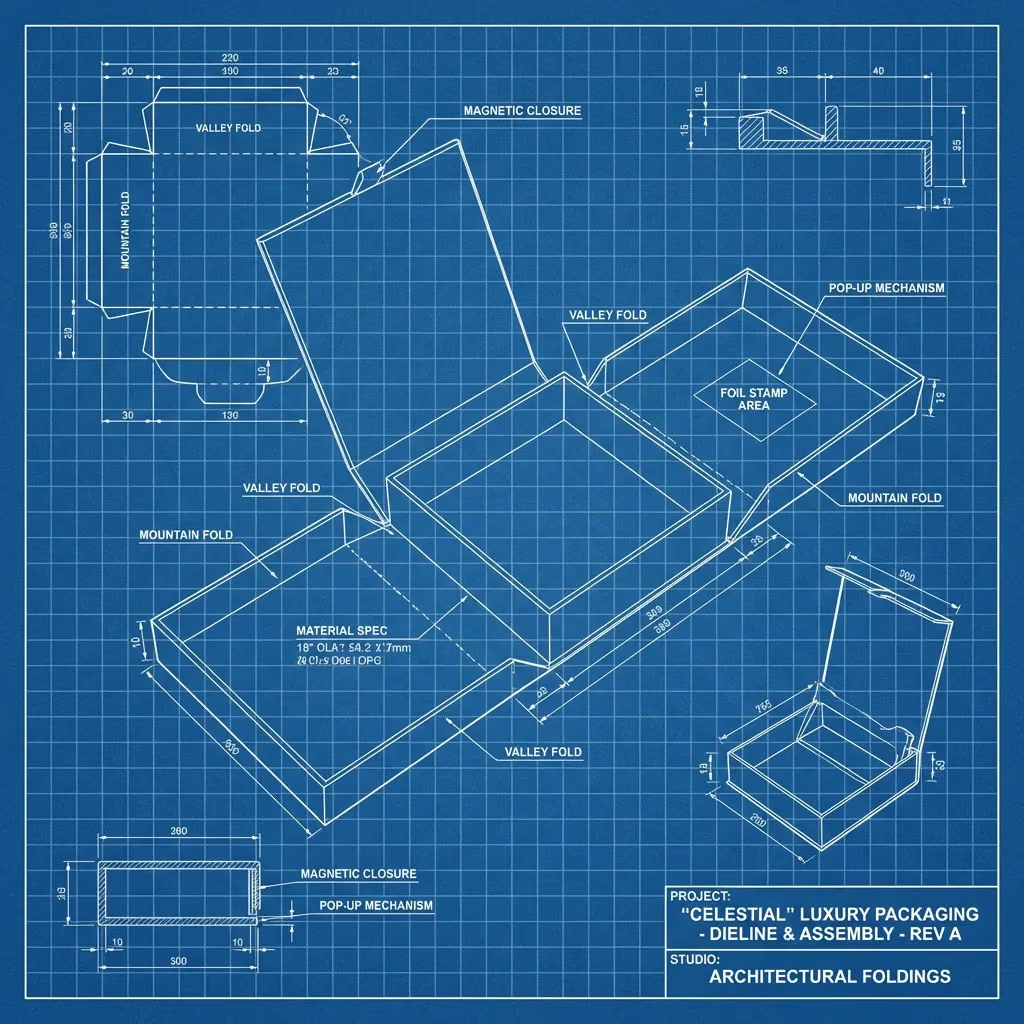
Selection logic
A drawer should expose the product clearly without asking the user to overextend a loaded tray. The required travel distance follows the insert layout and removal sequence.
Friction and tolerances
Nominal dimensions are only the start. Board, paper, seams, adhesive, finish, and squareness all change the space between sleeve and tray.
The engineering allowance must account for the finished tray, wrapped sleeve, seam positions, and normal variation without creating visible looseness.
Paper texture, lamination, foil edges, embossing, and glue areas should be kept away from critical sliding surfaces where practical.
The sample should be loaded with the intended product so opening effort, tray stability, travel, and product access can be judged together.
Board and wrap
Material choice affects rigidity, corner definition, print appearance, finish registration, and the friction between the two structural parts.
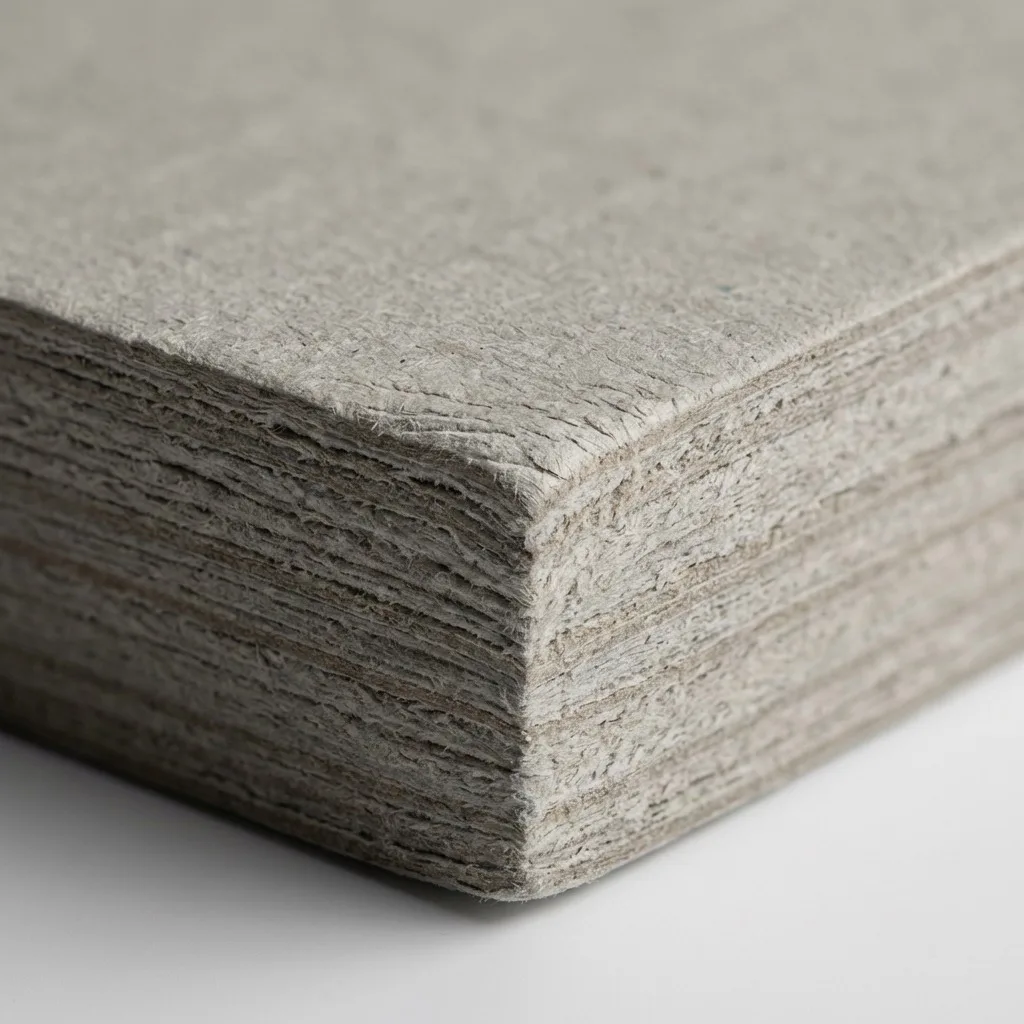
Thickness selected around span and product load
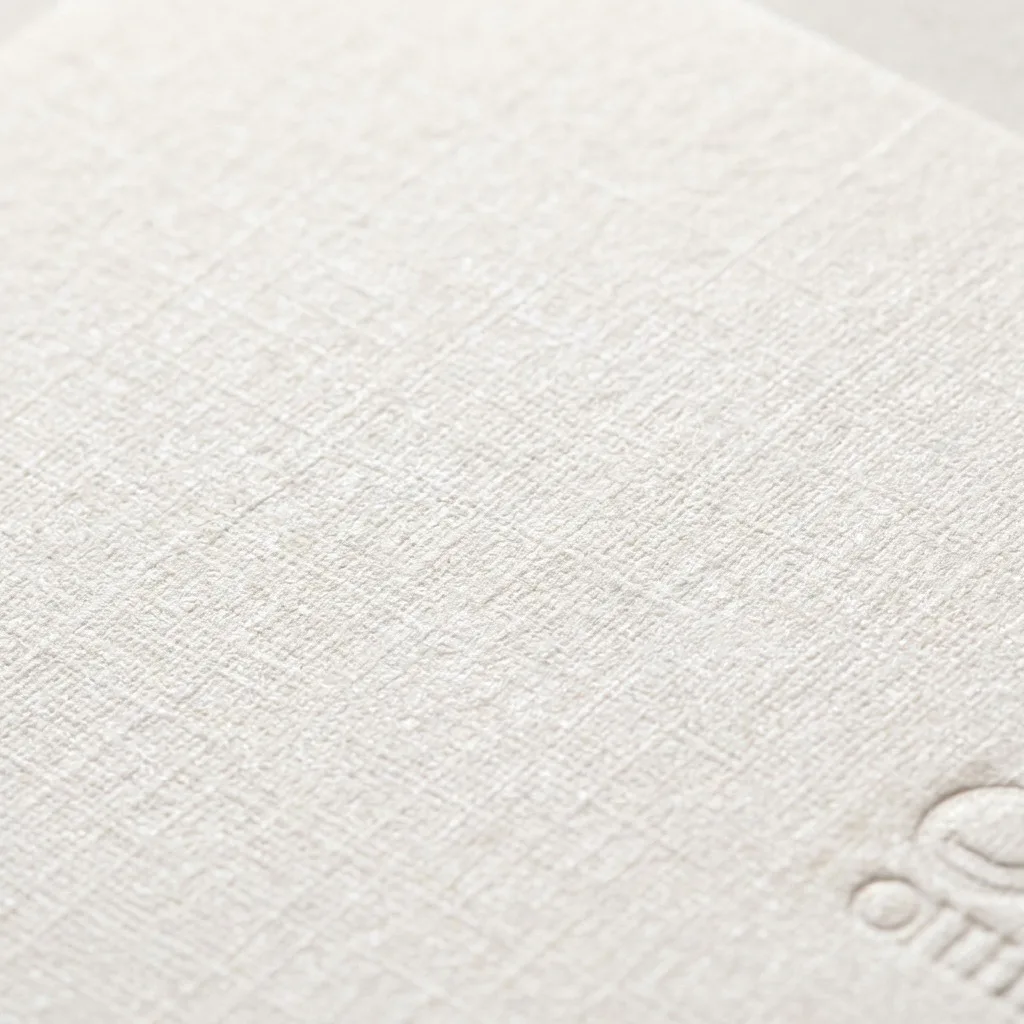
Texture and fold behavior checked in sample
Edge treatment and surface marking reviewed

Kept clear of functional sliding zones
Tray insert
Insert geometry begins with the product, then considers removal access, tray wall support, accessory layout, and the direction the packed box will travel.

Sample to production
Project timing is confirmed in the quote after the structure, materials, sample route, finishing, quantity, and destination are known.
Confirm product data, opening direction, quantity, insert, artwork, destination, and carton needs.
Develop sleeve, tray, clearance, pull access, insert fit, and the intended stopping point.
Check sliding effort, reveal, removal, tray retention, material, finish, and packed orientation.
Use approved construction and appearance criteria for production checks and final packing.
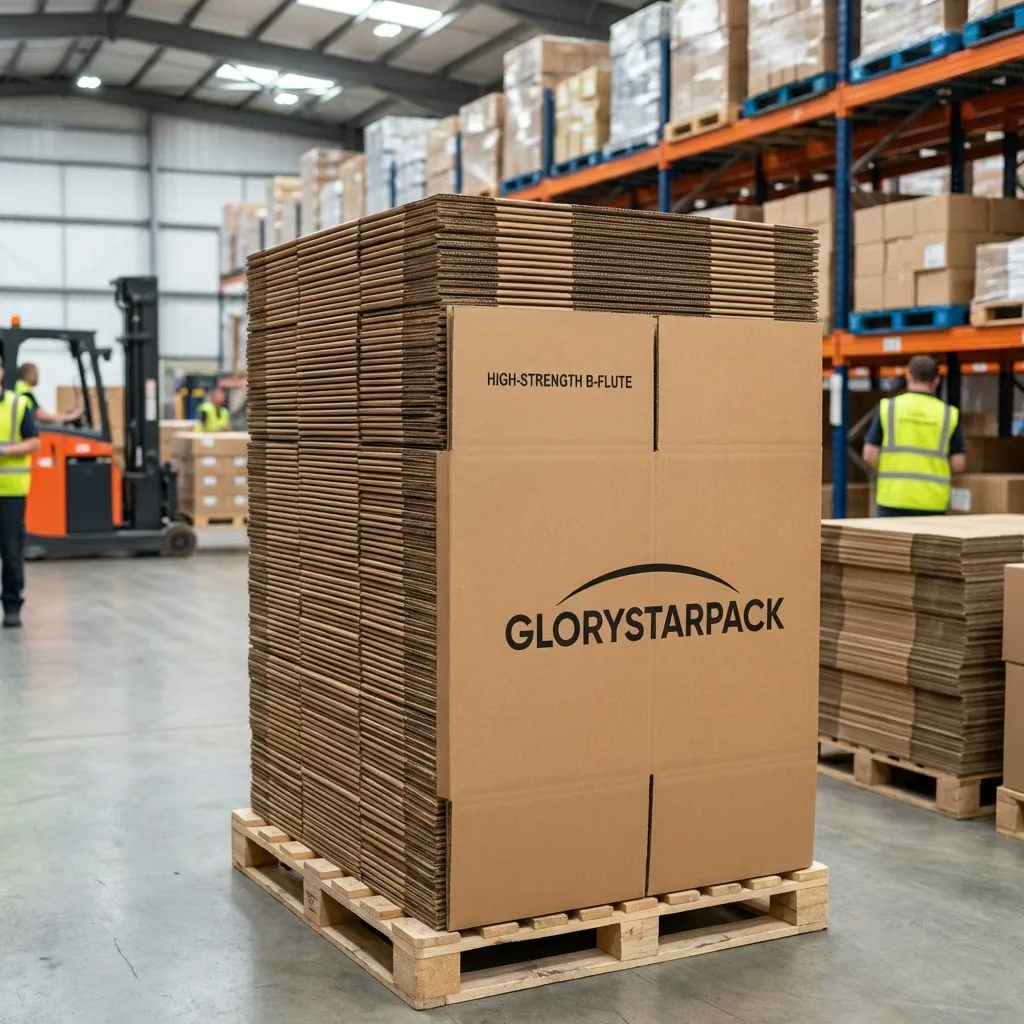
QC and carton orientation
Inspection criteria follow the approved sample and documented specification. Final packing should keep the loaded tray from working against the sleeve opening during handling.
Still choosing the opening system? Use the magnetic box vs drawer box comparison to compare staged reveal, top or side clearance, insert behavior, quality risk, and delivered scope.
Drawer box questions
Buyer evidence pack
A logo on a website is not enough. For a material, compliance, or quality requirement, request the current document and verify that its scope applies to your order.
Company identity. GloryStarPack is operated by Xiamen GloryStar Packaging Co., Ltd. in Xiamen, Fujian, China. This site covers custom boxes, bags, inserts, and labels. Visit our specialist glass bottle and container packaging site. View our Alibaba company profile.
Approved photos, dimensions, finish location, and revision notes.
Named substrate, board, adhesive, laminate, or requested certificate copy.
Agreed photos or video from printing, finishing, assembly, and inspection.
Carton count, marks, packing photos, gross dimensions, and delivery term.
Use the packaging sample approval checklist to record fit, color, finishing, pack-out, revisions, and the exact reference that will govern production.
For first production through shipment release, use the packaging quality inspection checklist and record planner to control lots, defects, carton data, corrective action, reinspection, and authority.
Quote a custom drawer box
Send the product size and weight, quantity, preferred reveal, insert needs, destination, and any artwork or references. If the pull method is undecided, describe how the box should be handled.