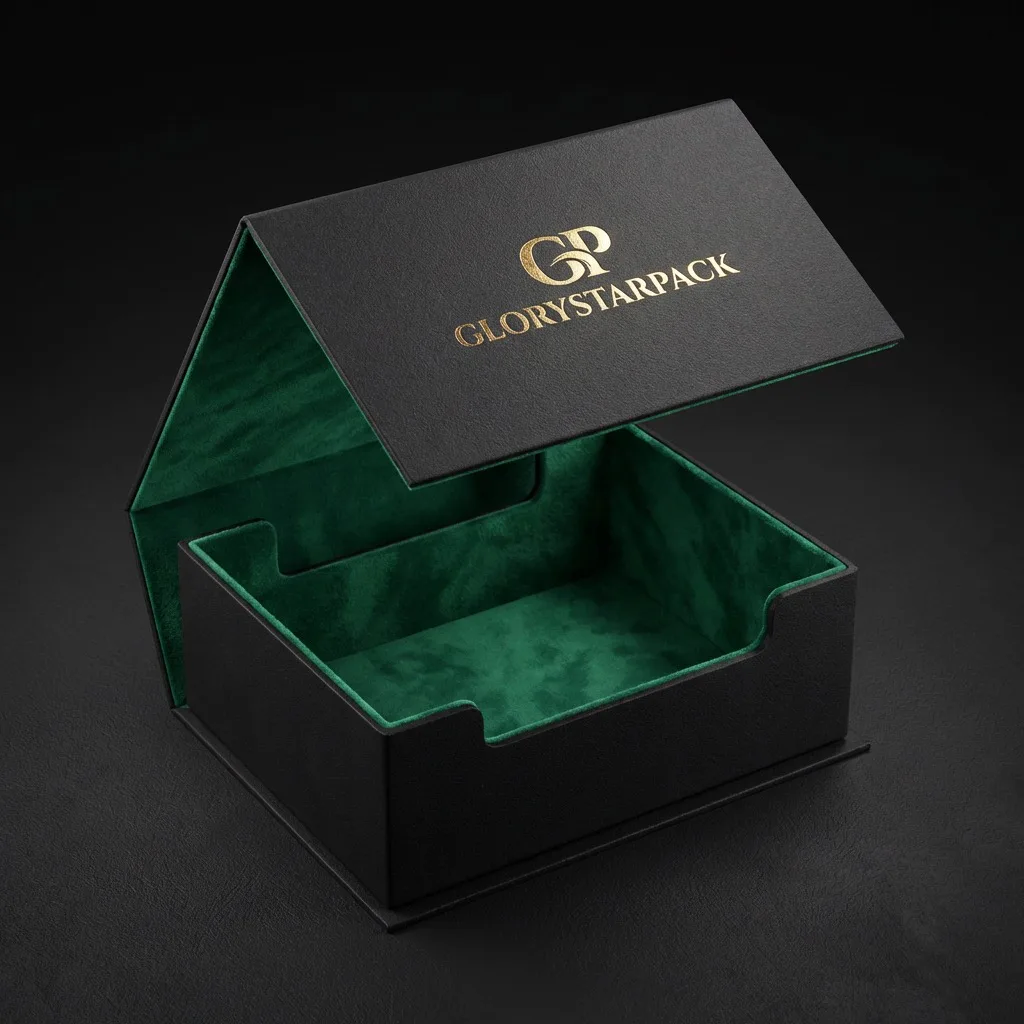
 RB–101
Magnetic rigid box
A hinged format with concealed magnets, a controlled close, and a broad printable lid.
- Hinged lid
- Concealed closure
- Custom insert

Structure before decoration
Work with our Xiamen, China packaging team to define the rigid box structure, insert, opening sequence, materials, finish, and delivery plan as one production system.
Rigid box structures
The right structure depends on how the product should be protected, presented, removed, stored, packed, and shipped.
RB–101
A hinged format with concealed magnets, a controlled close, and a broad printable lid.
A separate lid and base with straightforward assembly, balanced reveal, and flexible depth.
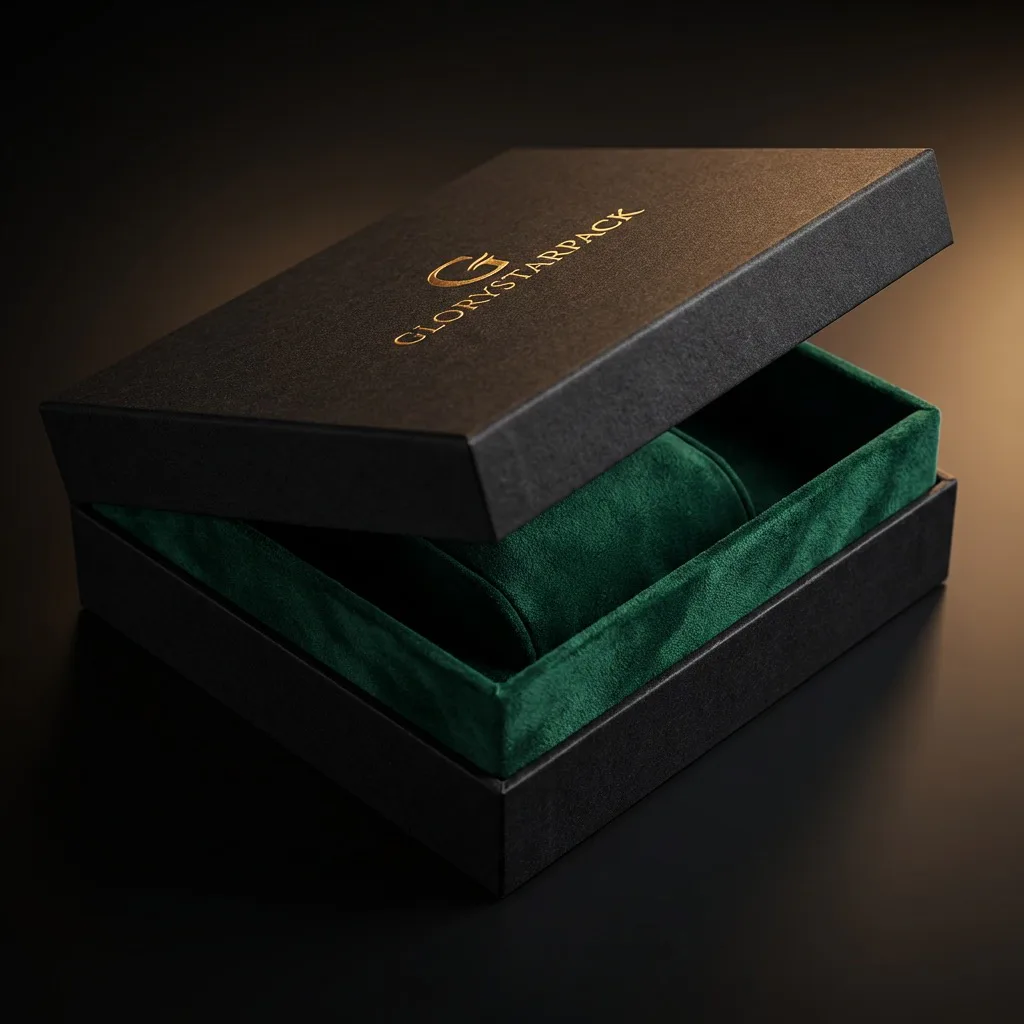 RB–124
An inner neck creates alignment and a visible reveal between the upper and lower sections.
 RB–136
A sliding tray creates a paced reveal and can include a ribbon pull or thumb cut.
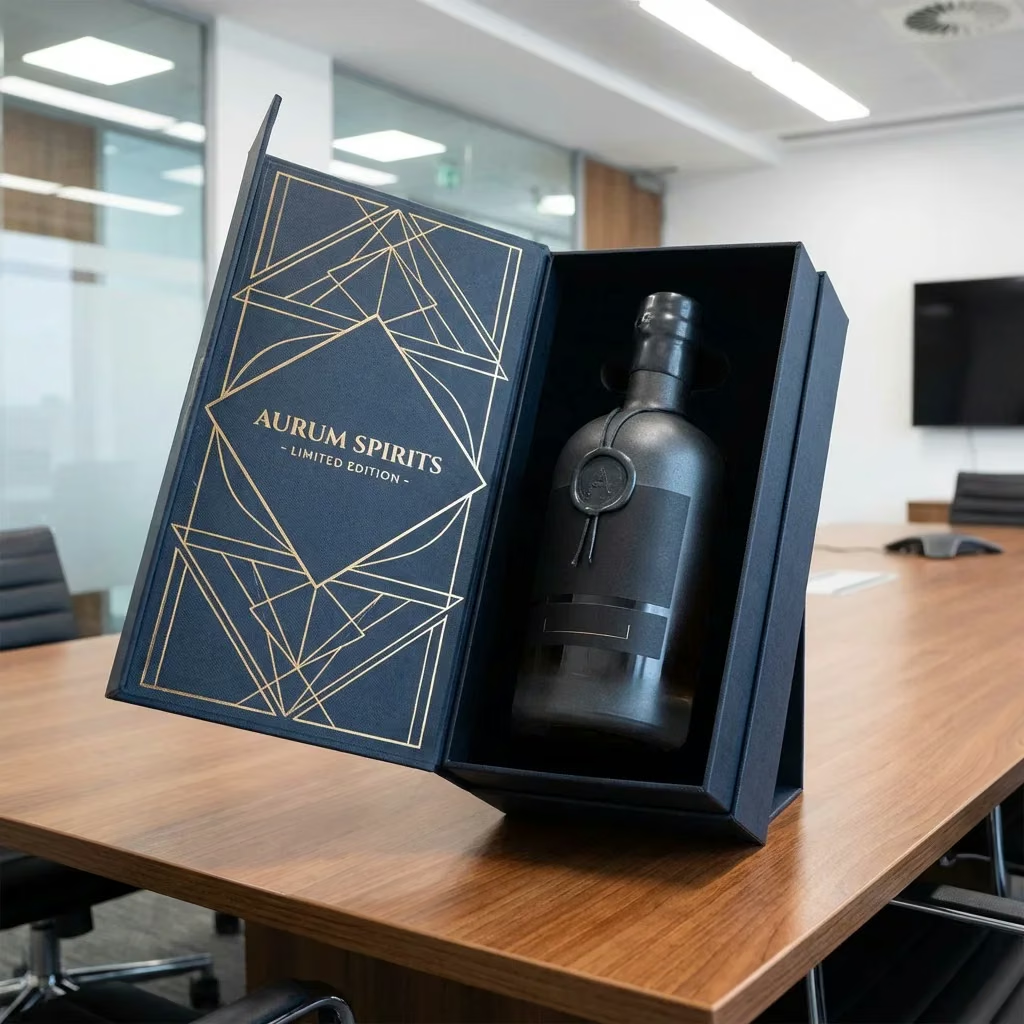
A hinged cover presents the contents across a wide opening and supports layered documentation.

A folding rigid construction considered when storage and freight volume matter to the project.
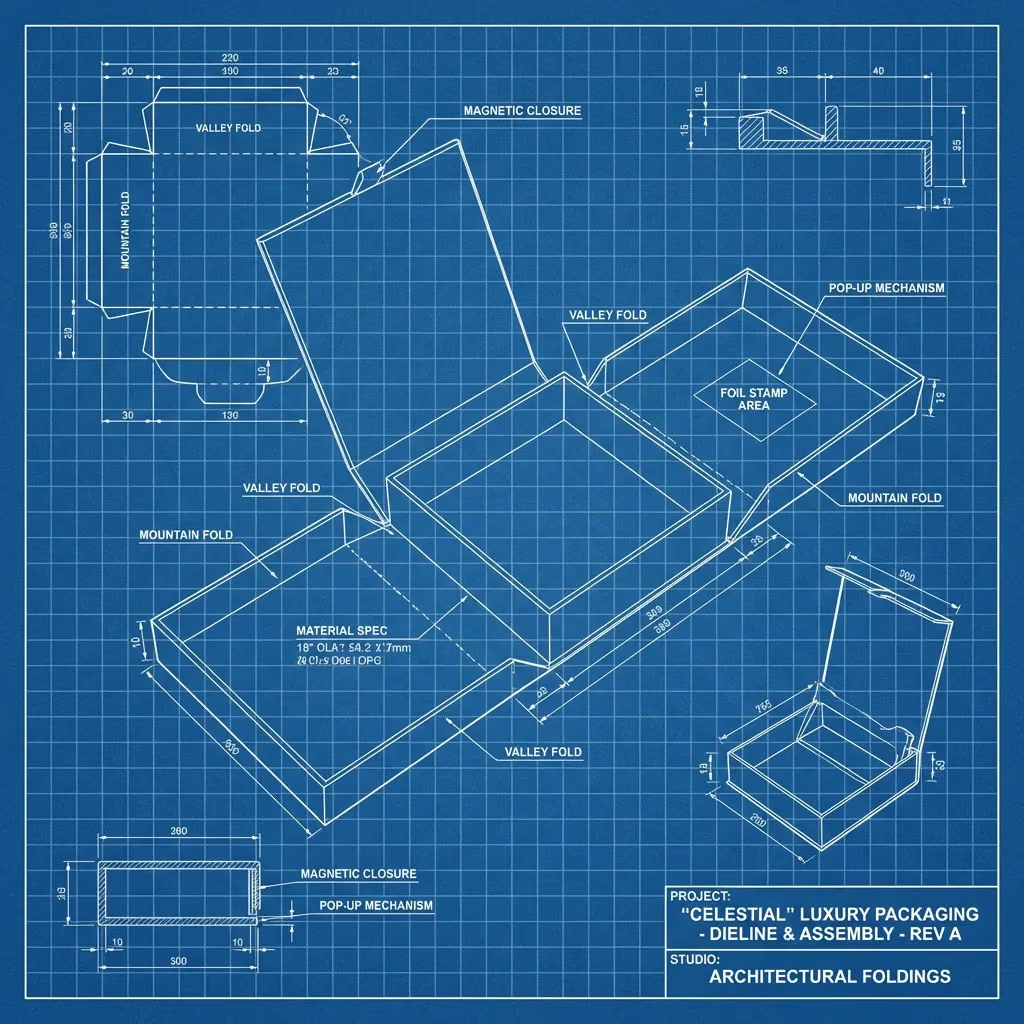
Selection logic
A useful structure brief explains the product and the buying moment, then defines what the box must do from packing line to final opening.
Material system
Material selection follows the structure, product load, color target, surface treatment, and handling conditions.
Board thickness is reviewed against box span, lid depth, product weight, insert support, and the intended opening feel.
Coated, uncoated, textured, and specialty papers behave differently under color, lamination, foil, embossing, and folding.
Foil, embossing, debossing, spot gloss, and lamination are selected around artwork scale, registration, handling, and budget.
Material references
Screen color and reference photography are useful direction, but the physical sample confirms texture, sheen, color interaction, and edge treatment.
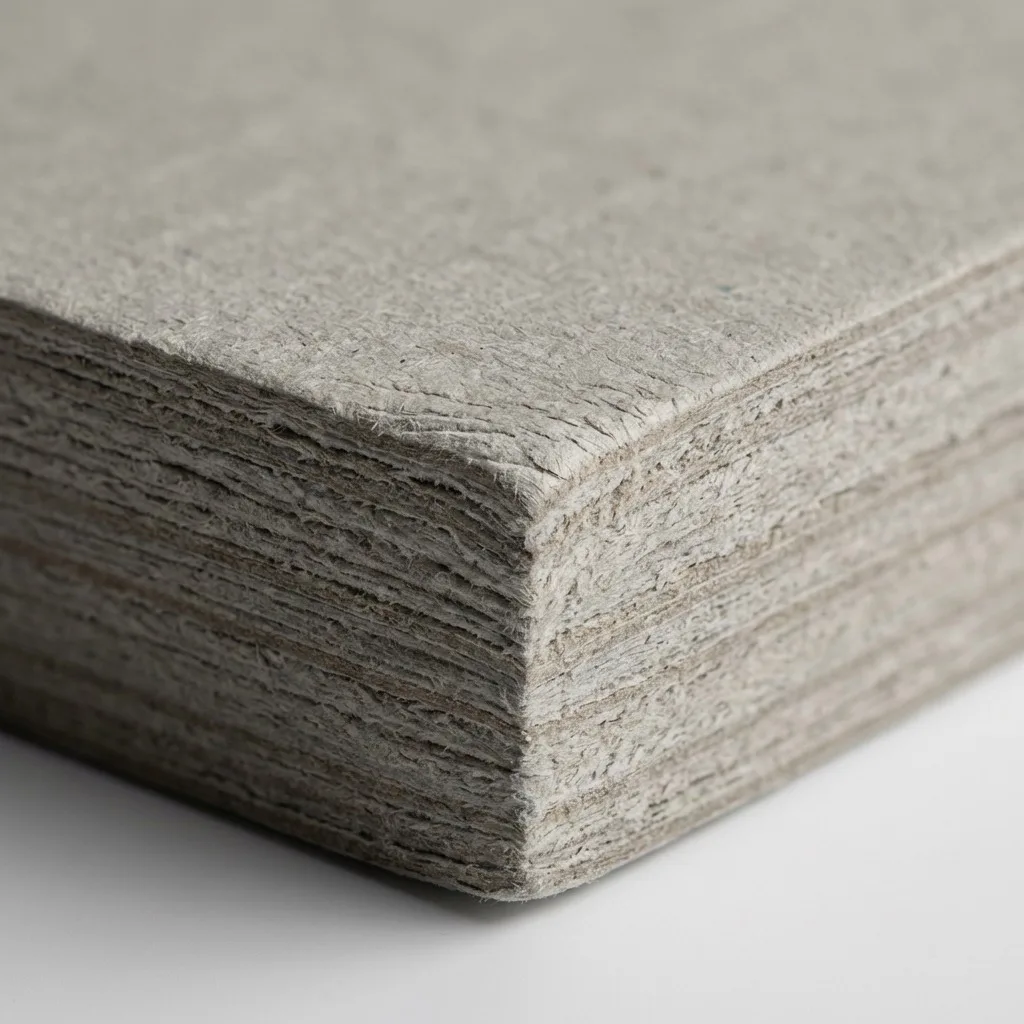
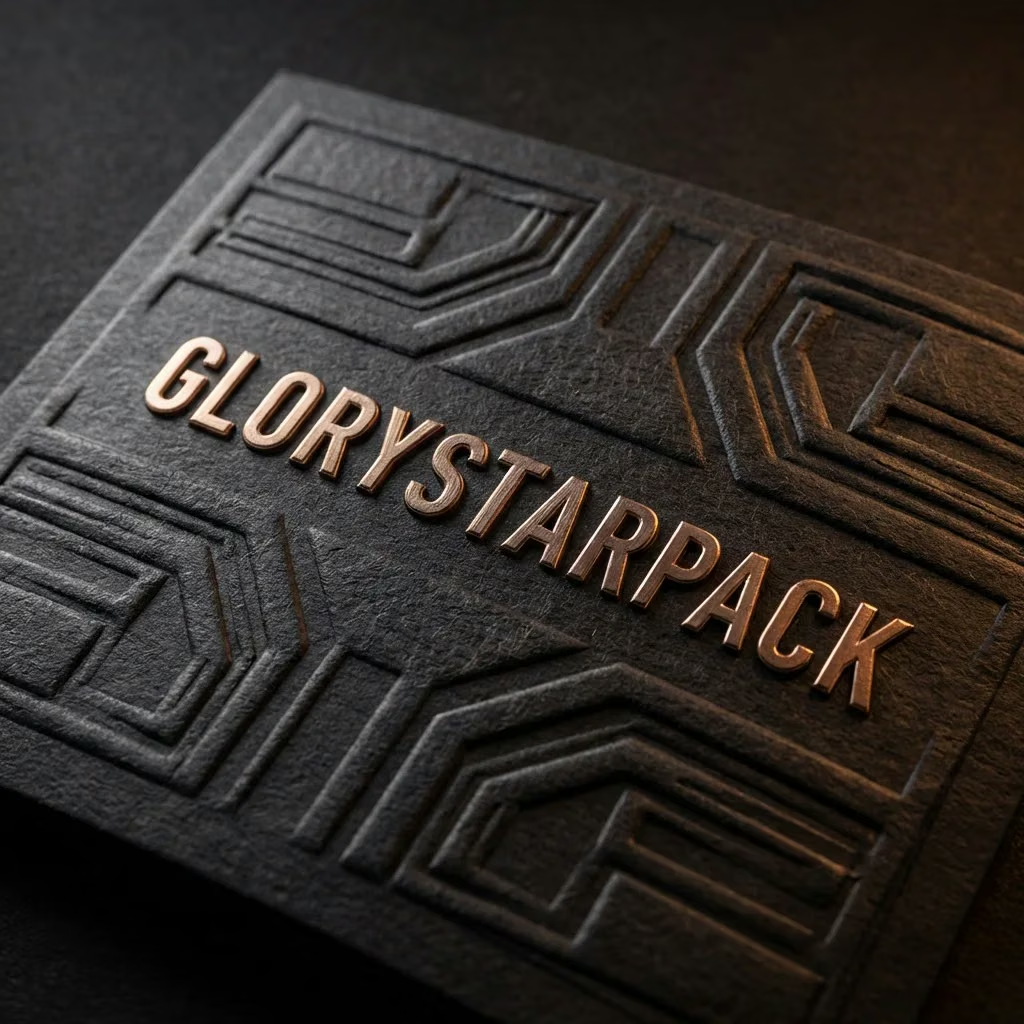
Visible grain and a quieter printed surface
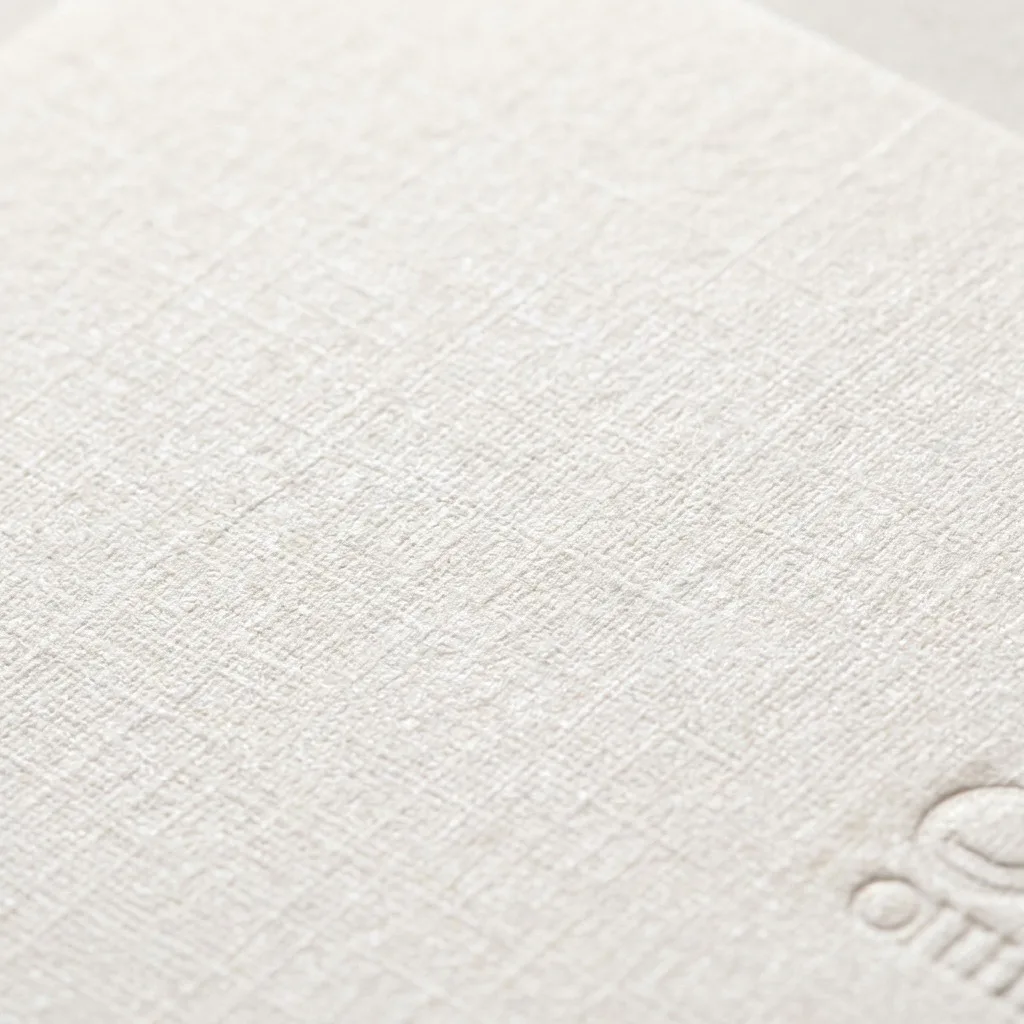
Soft touch with specific print considerations

Opaque base for foil, embossing, or selected inks
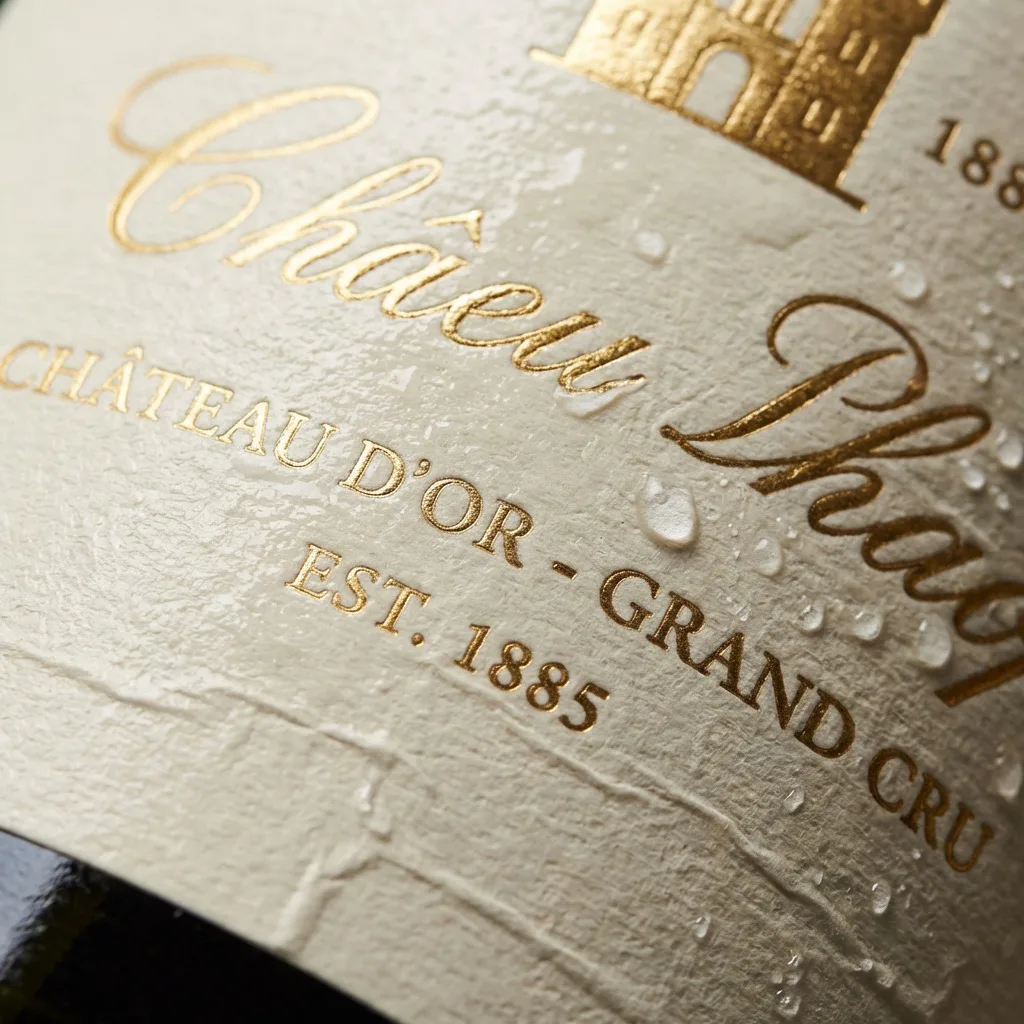
Reflective focus with artwork and registration limits
Plan Pantone color matching across the box, label, bag, and approved sample
Custom inserts
An insert should hold the product during transit without making unpacking difficult. Material choice follows the product, structure, presentation goal, and disposal requirements.
Sample to production
The schedule is project-dependent and is confirmed with the structure, sample route, materials, finishing, quantity, and delivery plan.
Confirm product data, structure, quantity, artwork, destination, and target date.
Review dimensions, board, opening, insert, pack-out, and initial dielines.
Check structure, product fit, material, color, finish, assembly, and presentation.
Use the approved specifications for production checks, final packing, and shipment.
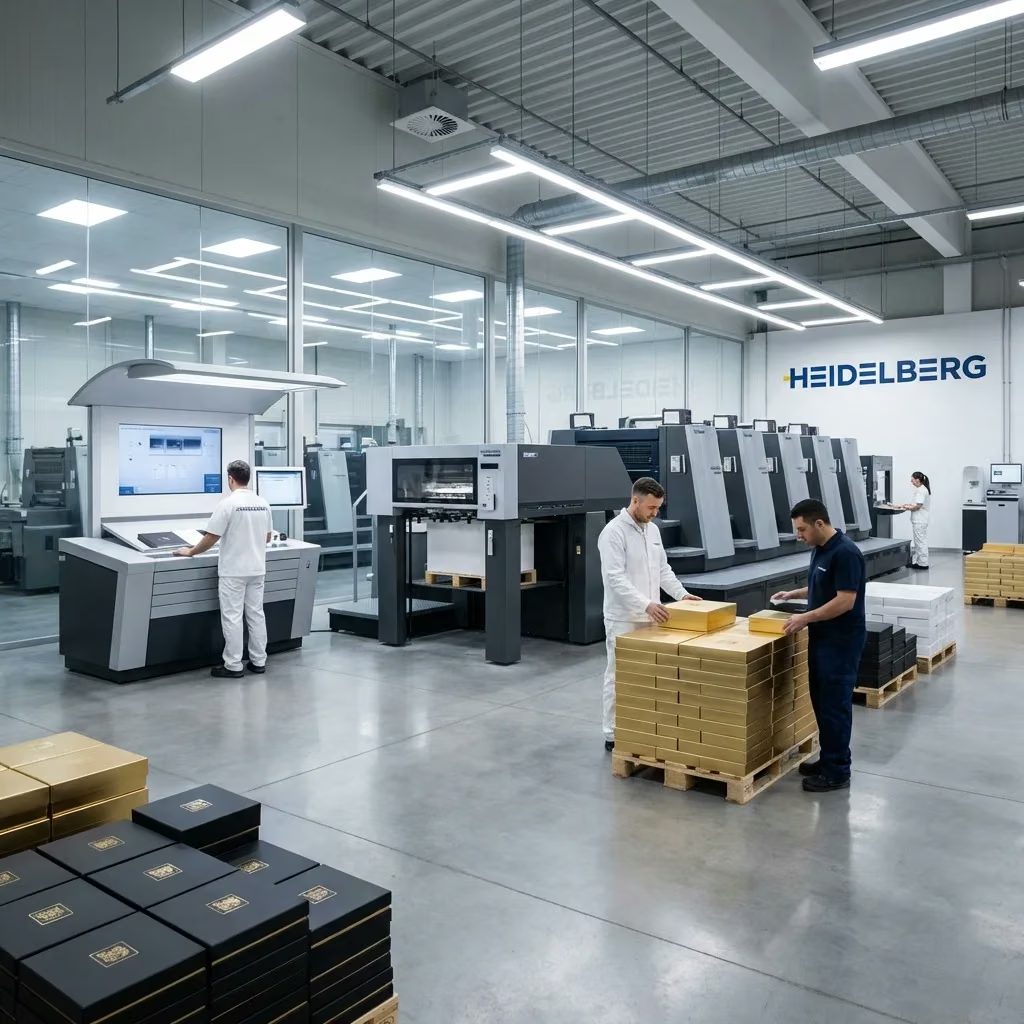
Quality checkpoints
Inspection criteria and tolerances depend on the chosen construction and materials. They should be documented in the project specification rather than assumed from a rendering.
If the shortlist is between a hinged closure and a sliding tray, use the magnetic box vs drawer box comparison before choosing the sample route.
Before comparing supplier prices, review the rigid box cost drivers that connect dimensions, construction, materials, inserts, finishing, quantity, packing, and delivery.
If the product could use a lighter paperboard route, compare the complete pack with the rigid box vs folding carton buyer guide before locking the presentation format.
Rigid box questions
Buyer evidence pack
A logo on a website is not enough. For a material, compliance, or quality requirement, request the current document and verify that its scope applies to your order.
Company identity. GloryStarPack is operated by Xiamen GloryStar Packaging Co., Ltd. in Xiamen, Fujian, China. This site covers custom boxes, bags, inserts, and labels. Visit our specialist glass bottle and container packaging site. View our Alibaba company profile.
Approved photos, dimensions, finish location, and revision notes.
Named substrate, board, adhesive, laminate, or requested certificate copy.
Agreed photos or video from printing, finishing, assembly, and inspection.
Carton count, marks, packing photos, gross dimensions, and delivery term.
Use the packaging sample approval checklist to record fit, color, finishing, pack-out, revisions, and the exact reference that will govern production.
For first production through shipment release, use the packaging quality inspection checklist and record planner to control lots, defects, carton data, corrective action, reinspection, and authority.
Quote a custom rigid box
Send the product dimensions, weight, quantity, preferred structure, destination, and any artwork or reference images. The reply will identify the next structural decisions needed for a quote.