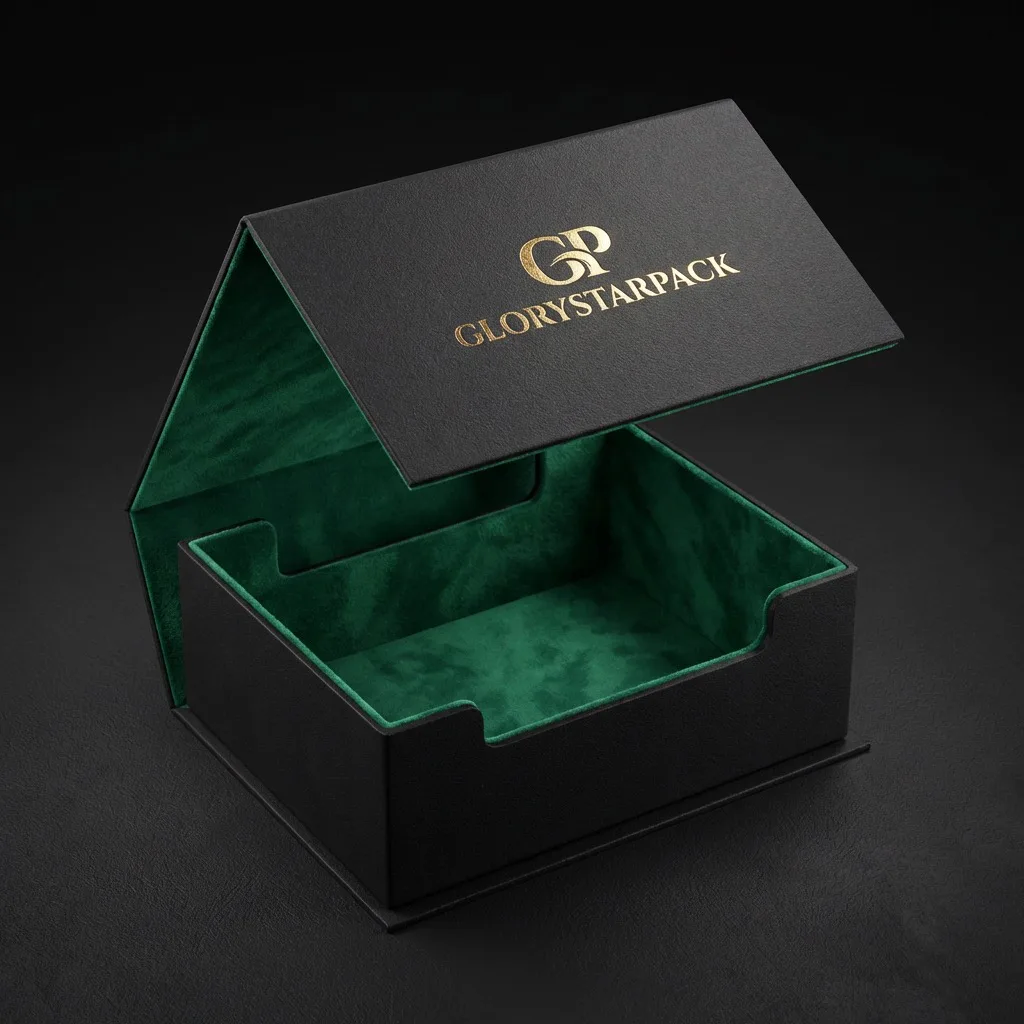
 MB–101
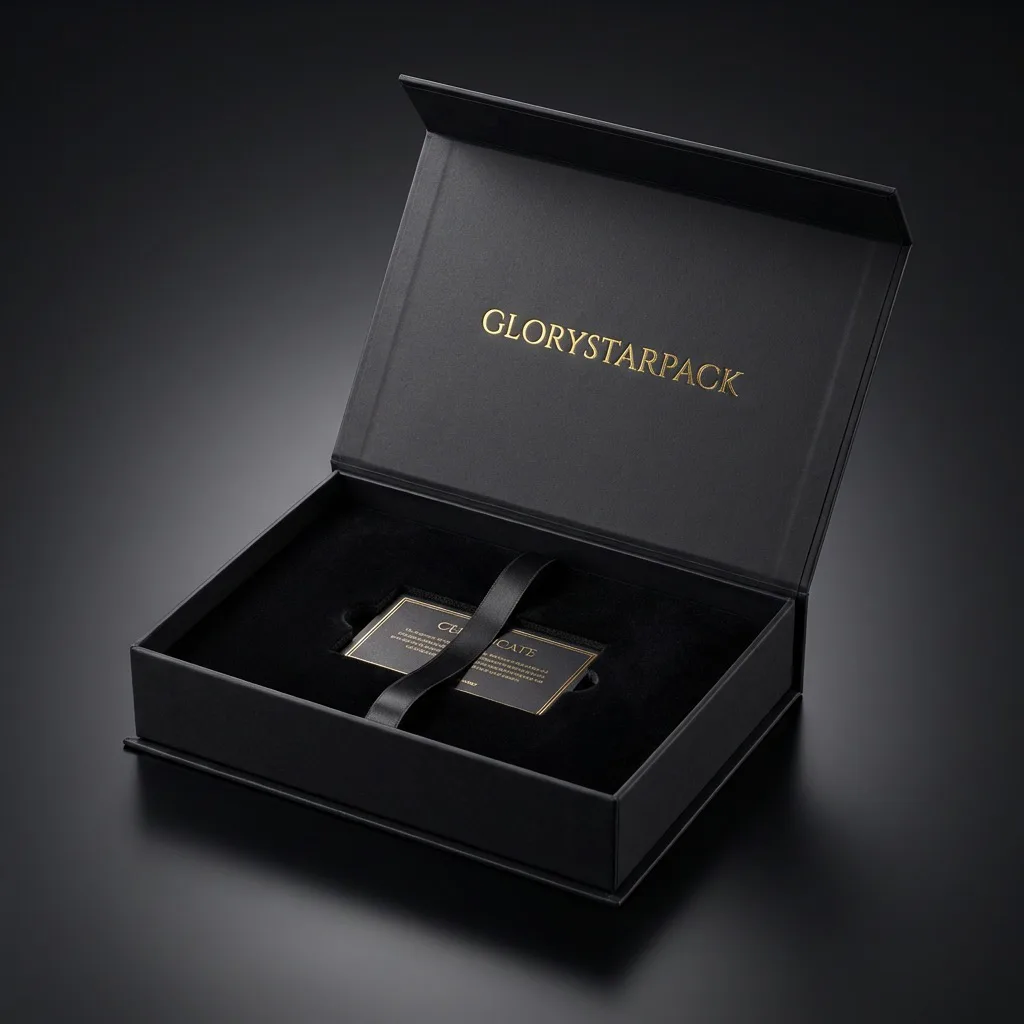
Hinged magnetic box
A permanently assembled structure with a hinged lid and concealed front closure.
- Assembled
- Hinged lid
- Front closure
Closure, alignment, reveal
Develop the lid, concealed closure, insert, and opening sequence together so the sample tests more than appearance.
Magnetic box structures
Compare the assembled format, the opening geometry, the product load, and the packing plan before choosing a magnetic construction.
MB–101
A permanently assembled structure with a hinged lid and concealed front closure.
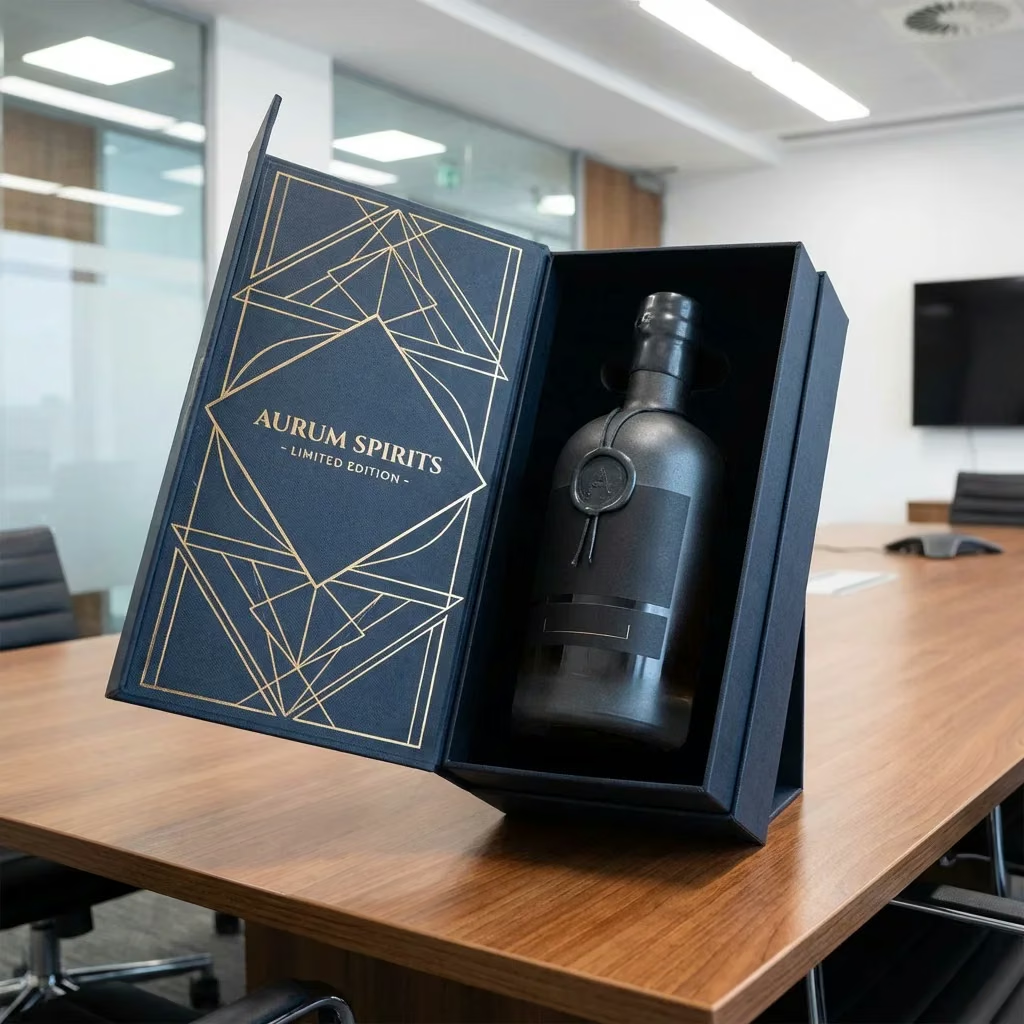
A broad cover opens like a book and can frame one product, a set, or supporting material.

A flat-pack concept considered when storage and shipping volume justify added assembly steps.
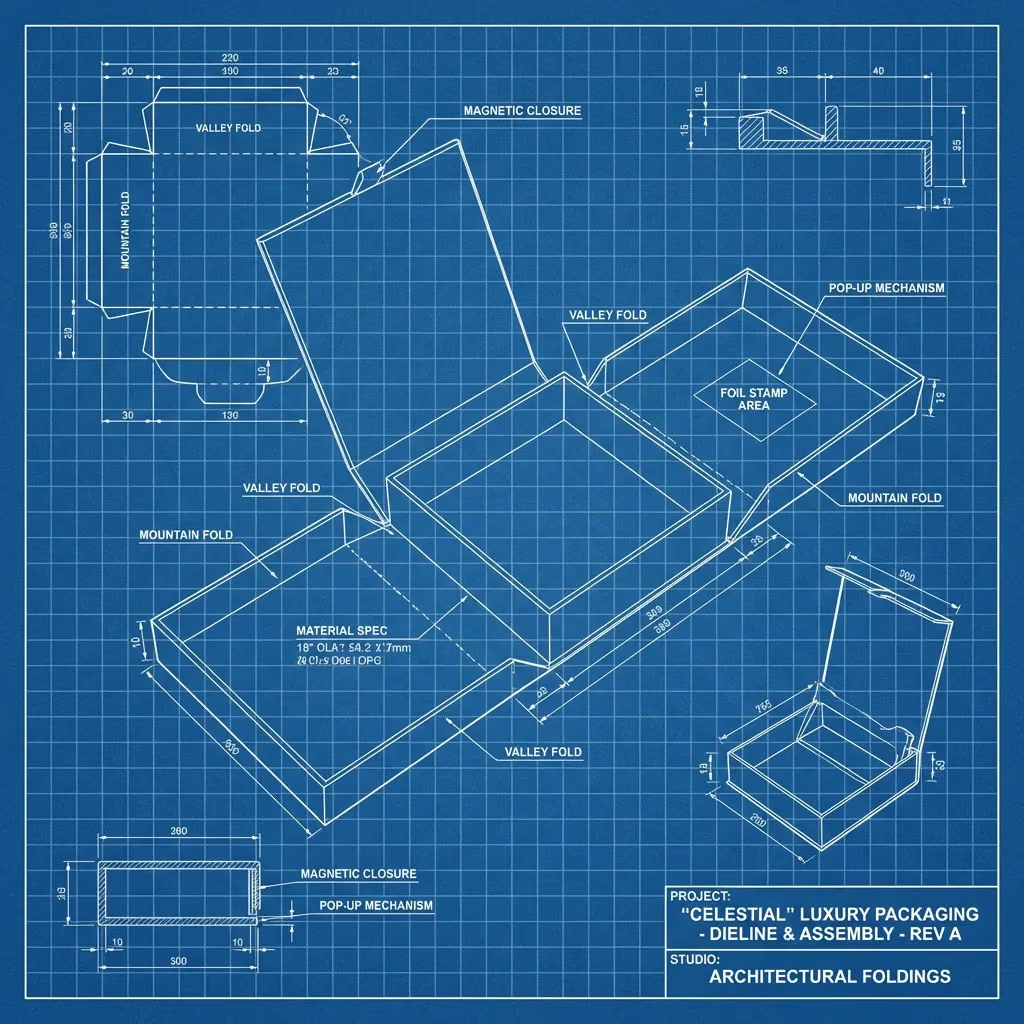
Selection logic
A strong snap is not automatically a better closure. The right configuration should close reliably, align cleanly, avoid unnecessary material, and suit the product inside.
Construction layers
Board, wrap, hinge, closure pieces, and insert are reviewed as one assembly because small changes can affect alignment and opening behavior.
Board thickness, lid proportions, spine construction, wrap direction, and hinge clearance influence how the lid opens and rests.
Magnets and corresponding metal pieces are concealed in planned locations, then checked for polarity, alignment, and closure feel.
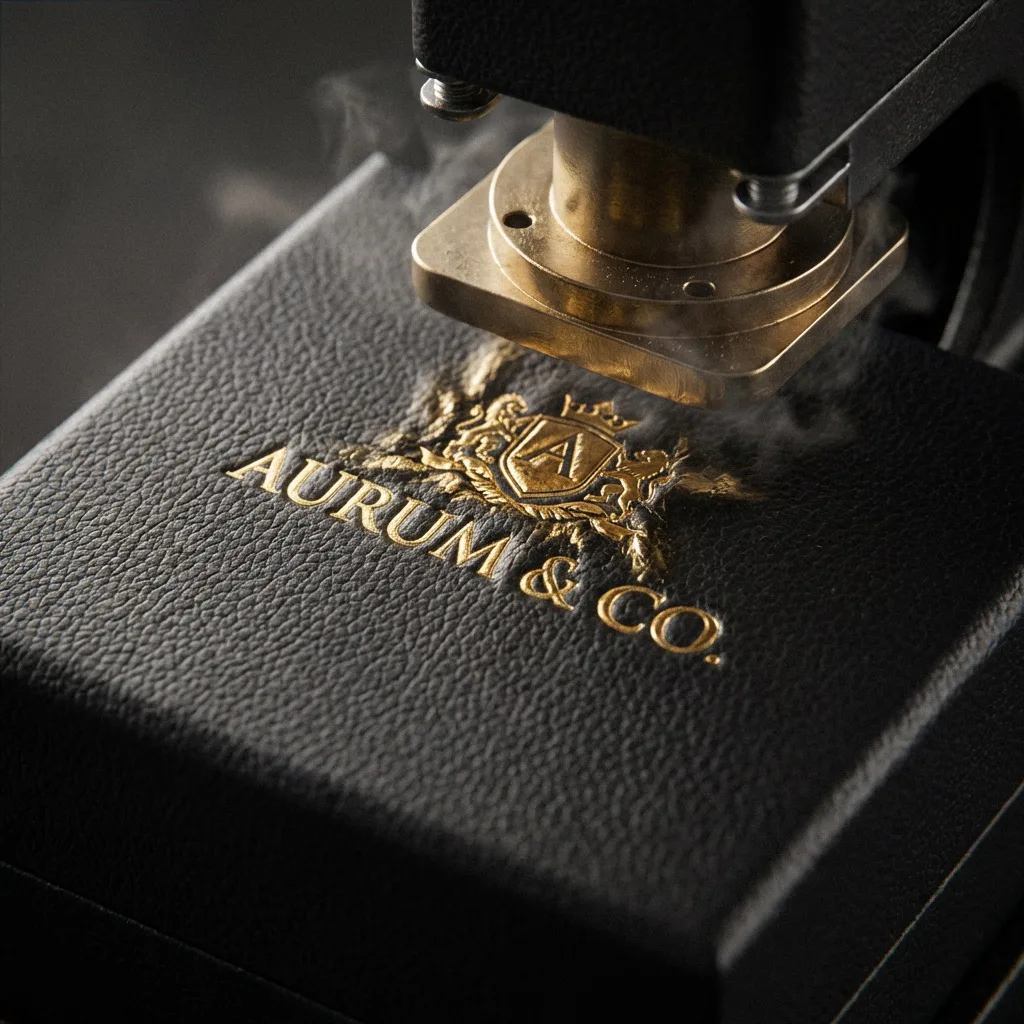
Artwork, foil, embossing, and seams must account for edges, folds, concealed components, and normal production tolerances.
Material decisions
The physical sample confirms how the surface, edges, hinge, closure, and insert behave together under normal handling.
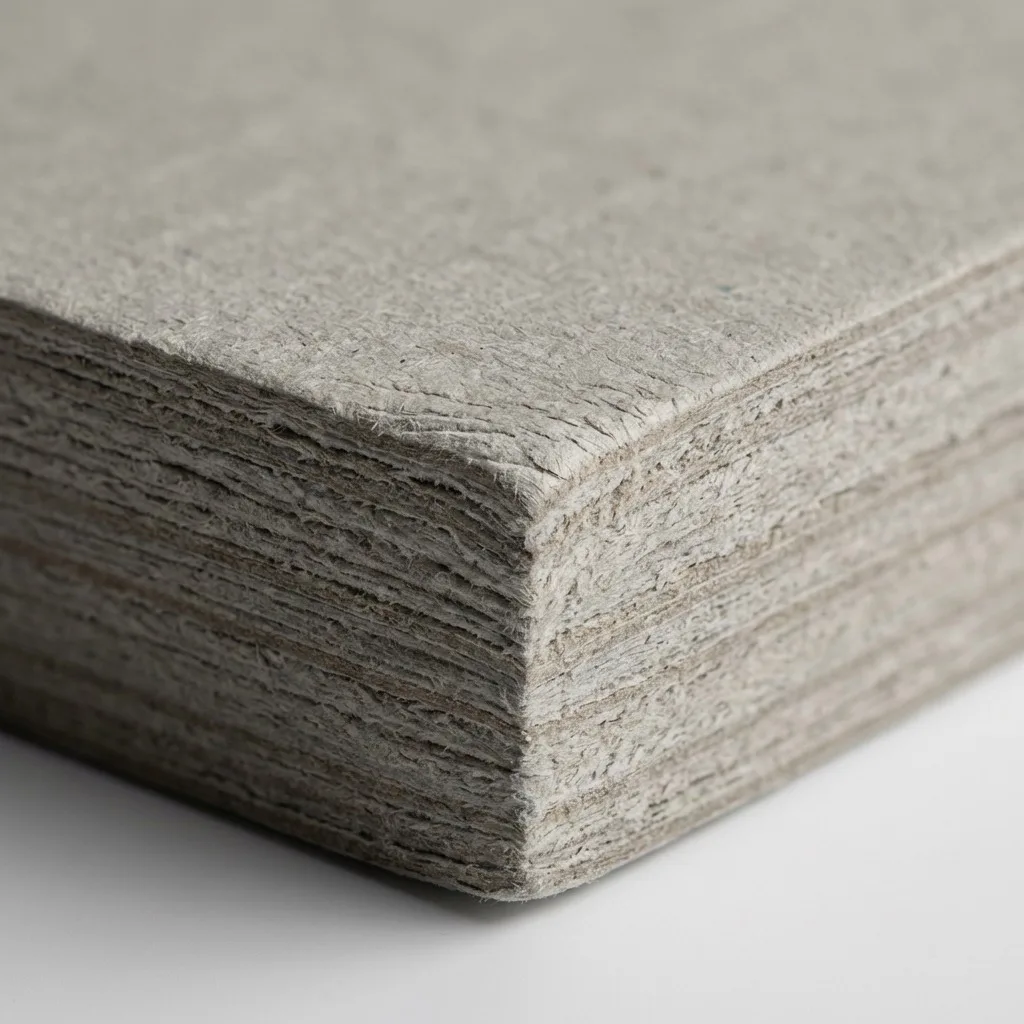
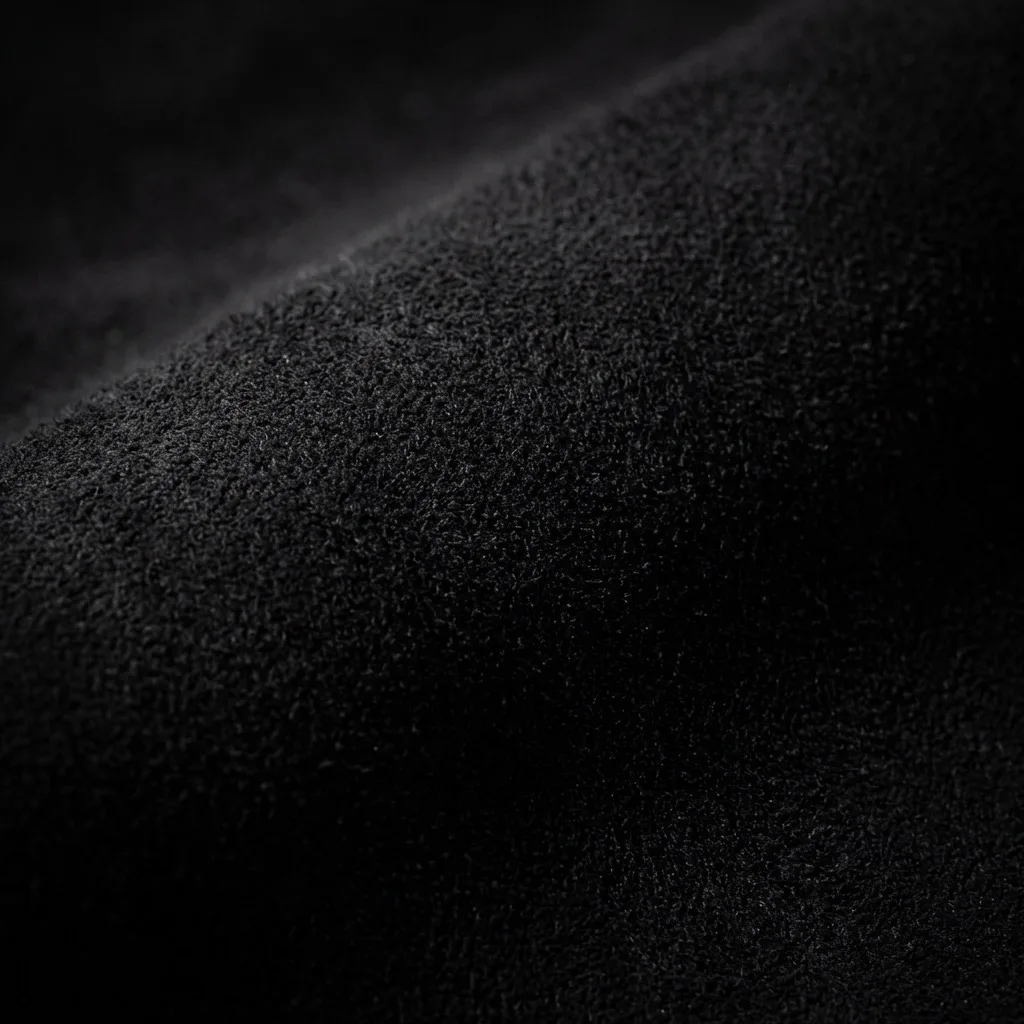
Grain direction and fold behavior require review
Surface for selected inks, foil, or blind detail

Depth and placement tested around board and wrap
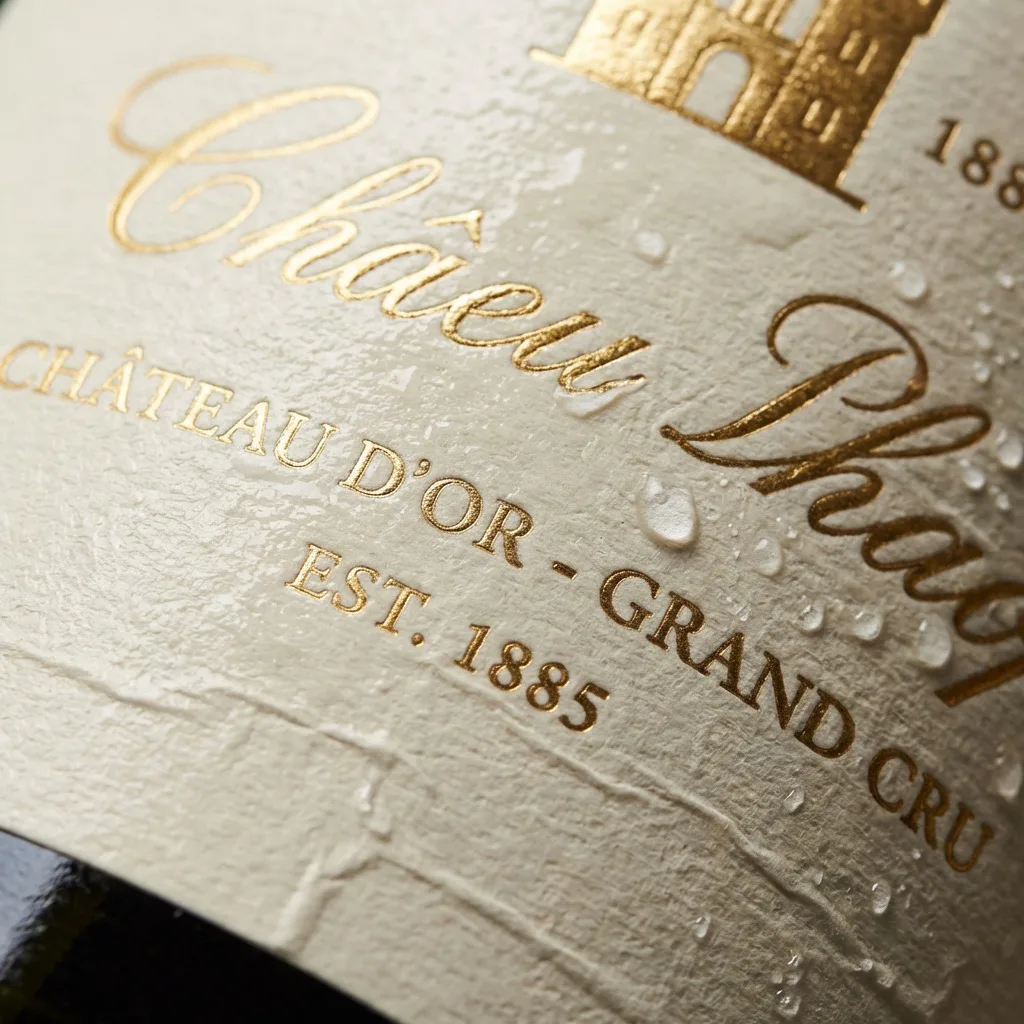
Artwork scale and registration confirmed in proofing
Insert engineering
The insert carries the product load and controls its presentation. It should also leave practical access for removal and keep critical product areas away from unintended pressure.
Sample to production
Project timing is confirmed in the quote after the construction, materials, sample route, finishing, quantity, and destination are known.
Share product data, quantity, opening goal, reference style, destination, and timing.
Review dimensions, lid geometry, hinge, closure points, insert, and pack-out.
Approve opening, closing, alignment, product fit, materials, finish, and assembly.
Use agreed specifications for production checkpoints, final packing, and shipment.
Quality checkpoints
Acceptance criteria depend on the approved construction and materials. The project specification should state what is checked and which physical reference governs the run.
Still choosing the opening system? Use the magnetic box vs drawer box comparison to compare access, reveal, insert fit, production controls, and carton scope from one shared brief.
Magnetic box questions
Buyer evidence pack
A logo on a website is not enough. For a material, compliance, or quality requirement, request the current document and verify that its scope applies to your order.
Company identity. GloryStarPack is operated by Xiamen GloryStar Packaging Co., Ltd. in Xiamen, Fujian, China. This site covers custom boxes, bags, inserts, and labels. Visit our specialist glass bottle and container packaging site. View our Alibaba company profile.
Approved photos, dimensions, finish location, and revision notes.
Named substrate, board, adhesive, laminate, or requested certificate copy.
Agreed photos or video from printing, finishing, assembly, and inspection.
Carton count, marks, packing photos, gross dimensions, and delivery term.
Use the packaging sample approval checklist to record fit, color, finishing, pack-out, revisions, and the exact reference that will govern production.
For first production through shipment release, use the packaging quality inspection checklist and record planner to control lots, defects, carton data, corrective action, reinspection, and authority.
Quote a custom magnetic box
Send the product dimensions, weight, quantity, preferred opening, destination, and any artwork or references. Mention any product or accessory that may be sensitive to magnets.