
Short answer
Design the insert from the jewelry's arranged state—not the box catalog.
A useful jewelry box insert specification records the exact SKU, arranged length × width × height, weight, presentation face, approved support zones, no-contact areas, moving parts, retention points, hidden storage, finger access, release order, proposed materials, tolerances, and the complete shipping pack. A production-equivalent sample then confirms that the item stays presented without unsafe pressure, rubbing, tangling, or difficult removal.
“Velvet insert,” “ring slot,” or “necklace card” is not enough. The same construction can behave differently around a high setting, delicate post, heavy pendant, long chain, plated surface, pearl strand, wide watch clasp, or mixed set. Freeze what the item must do inside the closed box and how the customer will remove it before choosing the decorative surface.
Separate presentation fit from transit protection. The insert presents and restrains the jewelry inside the retail box. The retail box, cushioning, mailer or shipping case, closure, void control, and distribution route form the complete packaged product that must be evaluated for shipment.
Free planning tool
Jewelry insert fit planner.
Enter the arranged product envelope, clearance around it, and space above and below the presentation plane. Compare that planning envelope with a proposed finished box inside size.
Measure the arranged presentation. For a necklace, measure the intended pendant and chain layout—not the straightened chain length. For watches and rings, include the setting, crown, clasp, cushion, slot, and any component that projects above or below the presentation plane.
Voice of the buyer
Community problems reveal where generic inserts fail.
Reddit is used to identify buyer language and failure modes. Community replies are not material approvals, dimensional standards, jewelry-care instructions, or packaged-product test evidence.
- A thick necklace can buckle a standard foam insertA jewelry maker reports that large recycled-glass beads prevent the lid from fitting, deform the foam, and still move inside a box intended for daintier pieces. The specification needs the real arranged envelope, weight, lid space, and controlled restraint. Read the discussion.
- Long chains need a defined path and releaseA body-chain packaging discussion begins with the customer's concern that the item could arrive twisted or tangled. The practical design question is how to separate, anchor, hide, and release the full chain without requiring scissors or pulling on delicate links. Read the discussion.
- “Safe packaging” depends on the jewelryA 2026 pearl-necklace thread asks for one safe, low-budget pack. Answers vary because presentation, scratching, moisture, product value, storage, and material sensitivities differ. Start from the exact pearl strand and validate the proposed contact system. Read the discussion.
- An intact outer pack does not prove the item was unstressedAn Etsy seller reports a broken earring hook after shipment. The insert and complete shipping pack should be evaluated for movement, snagging, pressure, repeated impact, and a defined damage criterion. Read the discussion.
Item architecture
Translate each jewelry type into a different retention problem.
A shared exterior family can still require distinct inserts. Record the worst-case SKU for every critical direction instead of approving one attractive sample as representative of the range.
Scroll horizontally to view all columns →
| Jewelry type | Define before design | Approve on the sample |
|---|---|---|
| Ring | Band width and thickness, size range, setting height and spread, display angle, no-contact faces. | Slot compression, setting clearance, stable angle, insertion and removal force, recovery after repeated use. |
| Earrings | Pair spacing, drop length, face orientation, post or hook geometry, backs, chains, asymmetry. | Post and back clearance, paired alignment, no bending or snagging, accessible release, movement when closed. |
| Necklace | Pendant size and weight, full chain length, clasp, links, presentation path, hidden-chain length. | Pendant position, anchors, crossings, chain compartment, packing time, untangled release, no concentrated pull. |
| Watch or bracelet | Closed circumference range, case or feature height, crown, clasp, link stiffness, weight, preferred display. | Cushion compression, clasp and crown clearance, stable seat, lift access, no pressure marks, recovery after removal. |
| Multi-item set | Every item envelope, sequence, visual hierarchy, possible contact between items, missing-item check. | Separation, orientation, independent removal, lid clearance, balanced presentation, tolerance across all cavities. |
Contact map
“Soft-touching” is not the same as product-safe.
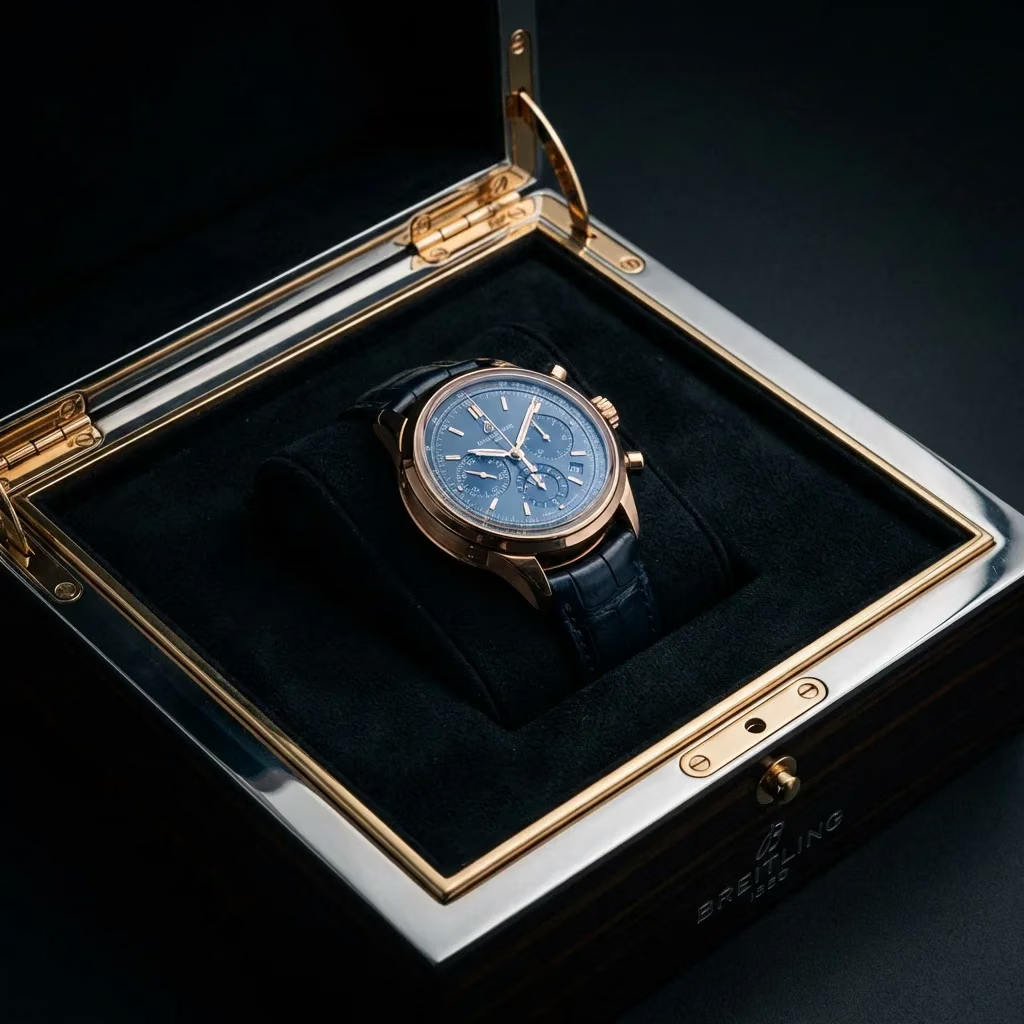
Map what can touch the jewelry, how hard, for how long, and under which storage conditions. Review the complete stack: visible fabric or paper, flock, foam or board substrate, adhesive, printing, seam, edge turn, insert base, accessories, and any anti-tarnish component.
- Identify plating, polished faces, soft stones, pearls, enamel, leather, crystal, coatings, sharp features, and moving parts
- Mark approved support, restricted contact, and absolute no-contact zones on the product drawing or photographs
- Check abrasion, imprinting, fiber or dust transfer, dye transfer, adhesive migration, odor, visible marks, and material changes over the intended storage time
- Test the darkest, lightest, softest, heaviest, tallest, and most sensitive SKU where one insert family is proposed
- Do not infer chemical compatibility, food contact, recyclability, or anti-tarnish performance from appearance alone
Care boundaries
Do not turn a packaging claim into unverified jewelry-care advice.
The insert supplier needs the item owner's storage and contact requirements. It should not invent one universal humidity, sealing, anti-tarnish, or cushioning instruction for every metal, plating, stone, pearl, adhesive, and intended lifetime.
Protect from rough contact without assuming dry sealing
GIA advises keeping pearls away from sharp or rough objects, storing them in a soft pouch or case, and avoiding dry, hot environments. Convert the jewelry owner's care requirements into an approved product-contact and storage brief. Read GIA's pearl-care guidance.
Control claims about tarnish
The Canadian Conservation Institute explains that silver reacts with sulfur-containing gases and recommends sulfur-free, acid-free unbuffered tissue in its conservation context. Retail packaging suitability still depends on the real jewelry, materials, environment, and validation. Review the CCI note.
Ask before promising
If the plating, treatment, coating, stone, adhesive sensitivity, storage period, or destination climate is unknown, record the gap. Use production-equivalent product and material samples and obtain qualified input before making a compatibility or preservation claim.
Material decision
Choose a construction from the function and evidence required.
Ask suppliers to state the complete insert build rather than quoting only the visible surface. Apparent alternatives can differ in cavity definition, recovery, tooling, assembly, packing, contact, recycling route, and landed cube.
Scroll horizontally to view all columns →
| Route | Useful questions | Evidence to request |
|---|---|---|
| Paperboard platform | How are slots, tabs, anchors, folds, hidden chain, edges, and finger access formed? Does the board spring or crease under the item load? | Final dieline, board and covering build, formed dimensions, repeated-use sample, packing instruction. |
| Molded fiber | Can the draft, radius, texture, color, edge, wall, and cavity tolerance hold the item without visible pressure or loose movement? | Tooling scope, material declaration, dimensional record, conditioned samples, nesting and dust review. |
| Foam-based insert | What density, hardness or compression behavior, thickness, cut route, recovery, adhesive, covering, odor, and contact restrictions apply? | Named construction, thickness stack, tolerance, compression and recovery sample, contact review, change control. |
| Cushion or sewn form | What finished circumference, fill, seam, compression range, clasp space, assembly, and visual orientation are controlled? | Pattern and fill specification, finished dimension range, compression sample, seam and repeated-use inspection. |
| Mixed construction | Which layer performs presentation, support, retention, separation, and contact? Where can layers shift, wrinkle, delaminate, or expose an edge? | Exploded construction, approved materials, adhesive map, assembly instruction, retained sample, substitution policy. |
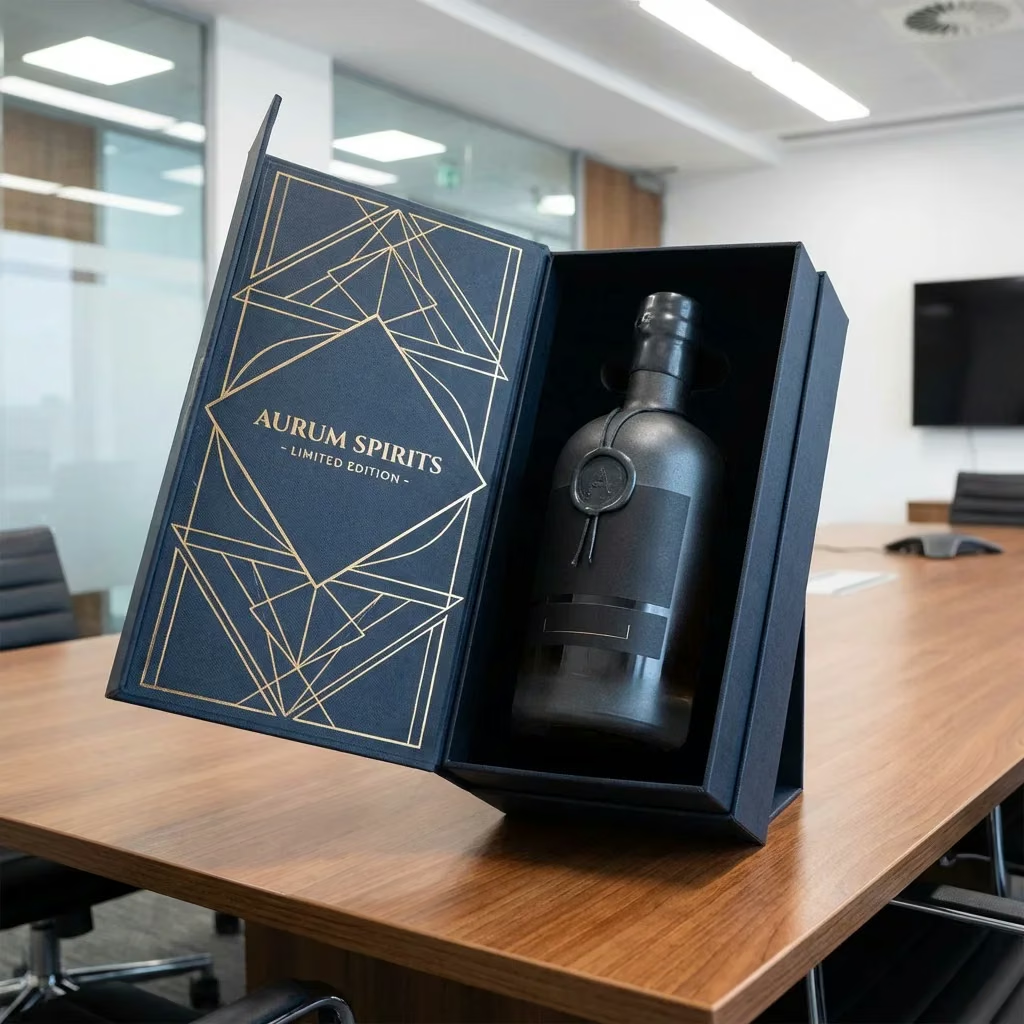
Compare paperboard, molded pulp, and foam insert decision boundaries · Review the custom insert development route
Removal and use
Approve the customer's hands, not only the product's position.
An insert can look controlled in a photograph and still fail when the item must be packed quickly, lifted without touching a sensitive face, or released without pulling a chain or bending a post.
- Write the packing order and time it with the intended production staff and real accessories
- Define where a finger, pull tab, ribbon, cushion, card, or removable platform provides access
- Check the force and angle for insertion and removal across the product and insert tolerance range
- Open and close the complete box repeatedly; inspect orientation, wrinkles, slot recovery, anchors, loose fibers, and visible marks
- Observe a first-time user unpacking without verbal coaching and record hesitation, wrong pulls, dropped parts, and reassembly difficulty
Sample and shipment
Test the actual jewelry, insert, box, and shipper as one system.
A desktop shake is useful for finding obvious movement, but it is not a defined transit test. Select a current procedure, conditioning, sample quantity, sequence, and pass/fail criteria for the real distribution route.
Confirm both ends of tolerance
Use the smallest and largest item variants plus production-equivalent insert and box materials. Record dimensions, weight, orientation, fit, insertion force, removal force, lid clearance, and repeat behavior.
Inspect movement and contact
After handling in defined orientations, inspect the item, slot, anchors, posts, backs, chain path, cushion, liner, lid interior, seams, dust, finish, and any transfer or pressure mark.
Use the route and damage definition
ISTA describes 1 Series procedures as screening tests and 3 Series as general simulation routes. Choose with qualified parties, define product damage and package degradation before testing, and retain the report with the approved specification. Review ISTA's current procedures.
Test evidence belongs to the defined packaged product. A passed sample does not automatically approve a different jewelry weight, setting, chain, insert material, adhesive, box depth, closure, mailer, case pack, route, or production source.
Supplier-ready RFQ
Ask every supplier to return the same insert scope.
Keep buyer facts, supplier proposal, sample evidence, commercial terms, and change control separate so quotations are genuinely comparable.
Scroll horizontally to view all columns →
| Section | Buyer states | Supplier returns |
|---|---|---|
| Jewelry data | SKU, type, arranged dimensions, weight, tolerance, presentation face, moving parts, sample or drawing. | Controlled orientation, proposed support and retention, fit assumptions, unresolved data. |
| Contact and release | Permitted, restricted and no-contact zones; surface sensitivities; desired packing and removal sequence. | Contact map, anchors, slots, cavities, hidden storage, finger access, release order, material stack. |
| Box interface | Box style, target inside size, opening, lid, hinge, closure, accessory and visual requirements. | Finished insert and box dimensions, tolerances, seating, lid clearance, movement control, drawing and dieline. |
| Evidence | Sample stages, SKU extremes, use cycles, contact review, outer pack, route, test and acceptance needs. | Prototype and production-equivalent sample plan, measurement record, material documents, test scope, retained sample. |
| Production control | Critical appearance, dimensions, function, cleanliness, identification, packing and defect expectations. | Inspection points, sampling proposal, master sample, work instruction, traceability, substitution and change notice. |
| Commercial scope | Quantity by SKU, shared parts, destination, target date, named Incoterm and place, special compliance needs. | Tooling, samples, unit price, assembly, accessories, packing, test, inspection, freight scope, exclusions and assumptions. |
Jewelry box insert design FAQ
Questions to settle before approving the insert.
These answers define what the planning calculator can show and what still requires a physical sample and qualified review.